How to Set Up Cookiebot Consent Mode with Elevar's Google Consent Mode Integration
Your are ready to enable consent mode within Elevar and are using Cookiebot as your consent provider
Overview
Elevar's Consent Mode in compatible Cookiebot. This setup allows you to add your Consent Banner onto your website + provides a building block for your server-side tracking to listen for a shopper's consent. After importing them, you'll be able to customize your consent rules per marketing destination
Prerequisites:
Before you can begin your Cookiebot specific setup, you will need to:
How to Set Up Cookiebot Consent Mode with Elevar's Google Consent Mode Integration
Download Container:
- Begin on your Elevar homepage and use the left-hand navigation menu to click on the "Pre-Built Tags" tab.
- Use the search function to locate and click on the "Cookiebot" container.
- Once inside of the Cookiebot container, navigate to the section of the page titled "Download Container". Use the text box titled "Domain Group ID" and enter your Cookiebot Domain Group ID [How to find this?]
- Once you have entered your Domain Group ID, locate and click on the "Download Container" button.
- (See Figure 1)

Figure 1
Download Pre-Built Cookiebot Container into Google Tag Manager
Import the Tags in Google Tag Manager:
- After you have downloaded the Cookiebot pre-built container from the Elevar app, import the tags into Google Tag Manager.
- Follow this guide to learn how to import containers into Google Tag Manager.
Assign Default Consent Status:
- Once you have downloaded your pre-built consent tags into Google Tag Manager, there is a section where you can choose to allow certain cookies to fire before the shopper grants or denies consent.
- Please select your desired default consent status before the user visitor provides a consent status. [What do these consent types mean?]
- (See Figure 2)
- Please select your desired default consent status before the user visitor provides a consent status. [What do these consent types mean?]
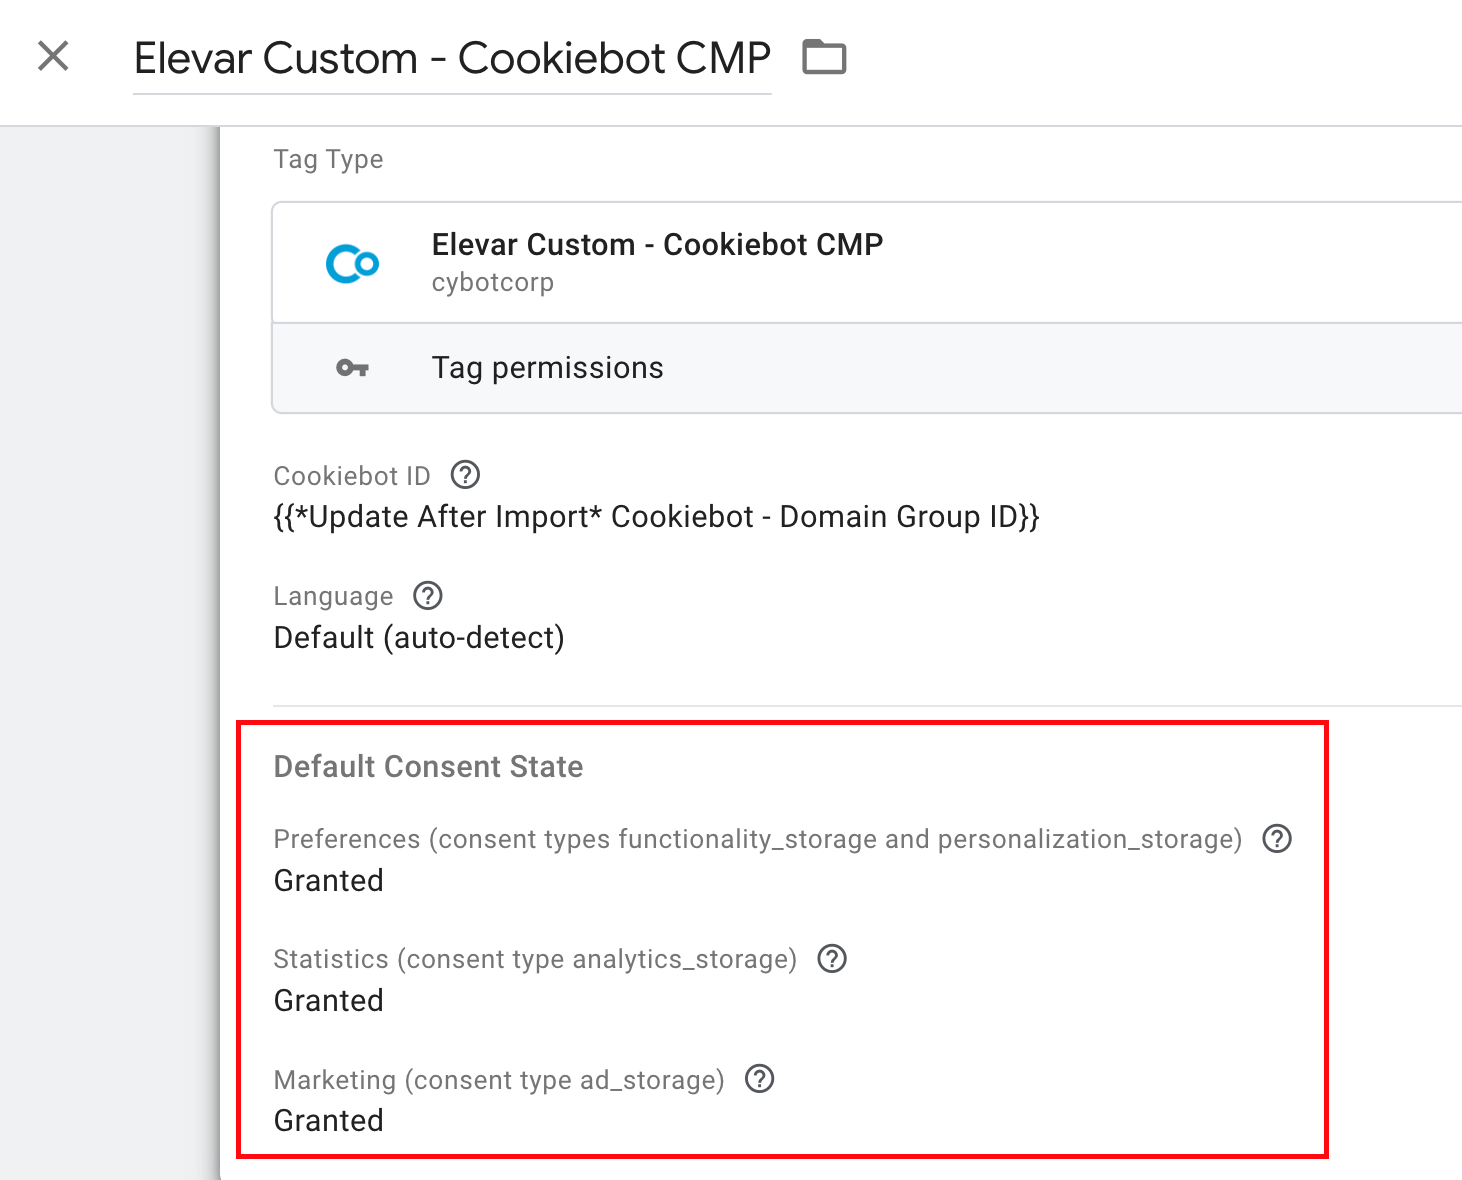
Figure 2
NOTE: Typically, the default statuses will vary by your region and legal requirements if you have opt-in or opt-out requirements.Elevar does not offer legal advice regarding GDPR or any consent compliance. Please consult your legal team if unsure.
Publish Your Changes:
- Once you have downloaded the Cookiebot container and imported it into Google Tag Manager with the correct default consent states selected, be sure to publish your changes in your workspace.
- Click on the "Submit" button located in the upper right-hand corner of the page.
- (See Figure 3)
- Click on the "Submit" button located in the upper right-hand corner of the page.
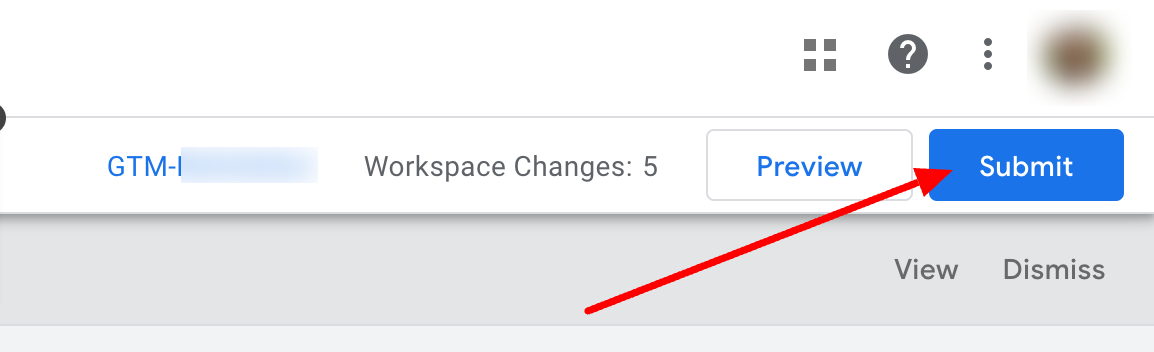
Figure 3
Next Up: Assign Requirements for Client-Side and Server-Side Tracking
You've enabled consent and added Cookiebot pre-built tag. Now you need to make your client side tags and server-side tracking consent aware. Follow these guides to complete the setup.
Updated 4 months ago