How to Set Up LiveConnect Tracking via Google Tag Manager
Learn how to set up LiveConnect Tracking via Google Tag Manager
Overview
Follow this guide to learn how to set up LiveConnect tracking via Google Tag Manager.
Prerequisites
- Install the Shopify Source on your store. Follow this guide to learn how to install the Shopify Source.
Download the Pre-Built LiveConnect Tags
Locate LiveConnect Container:
- Begin on the homepage of your Elevar app. Use the left-hand navigation menu and click on the tab titled "Pre-Build Tags".
- Use the search function to locate and click on the LiveConnect Pixel Container.
- (See Figure 1)

Figure 1
Download LiveConnect Container:
- Once in the LiveConnect Container, navigate to the box titled "Download Container".
- Navigate to the section of the page titled "LiveConnect Pixel ID" and enter your Pixel ID.
- Click on the button labeled "Download Container".
- (See Figure 2)

Figure 2
Import the Pre-Built LiveConnect Tags into GTM
Import Container:
- Log in to your Google Tag Manager Account.
- Select your GTM Web Container.
- Click on the "Admin" button located in the upper menu bar.
- Use the right-hand menu under the "Container" section and click on the tab labeled "Import Container".
- (See Figure 3)
- Use the right-hand menu under the "Container" section and click on the tab labeled "Import Container".

Figure 3
Import Container Information:
- Under the "Select file to import" section, click on the "Select File" button and choose the LiveConnect Container that was previously downloaded.
- Under the "Choose workplace" section, either create a new workplace titled "LiveConnect Tracking" or select your "Default Tracking".
- Next be sure to select the "Merge" option first, then the "Overwrite conflicting tags, triggers, and variables" option second.
- Once you have completed filling out the necessary details for this container, click on the "Confirm" button located at the bottom of the page.
- (See Figure 4)

Figure 4
[Optional] QA the New Tags with Google Tag Manager's Preview Mode
- Follow our guide to QA your tags in Google Tag Manager (GTM) preview mode.
Publish the Pre-Built Tags
- After importing the LiveConnect tag container, you will be brought back to the Google Tag Manager homepage.
- In your LiveConnect Tracking workspace, click on the "Submit" button in the upper right hand corner of the page.
- An additional confirmation page will appear. Be sure to click on the "Publish" button in the upper right-hand corner of the page.
- (See Figure 5)
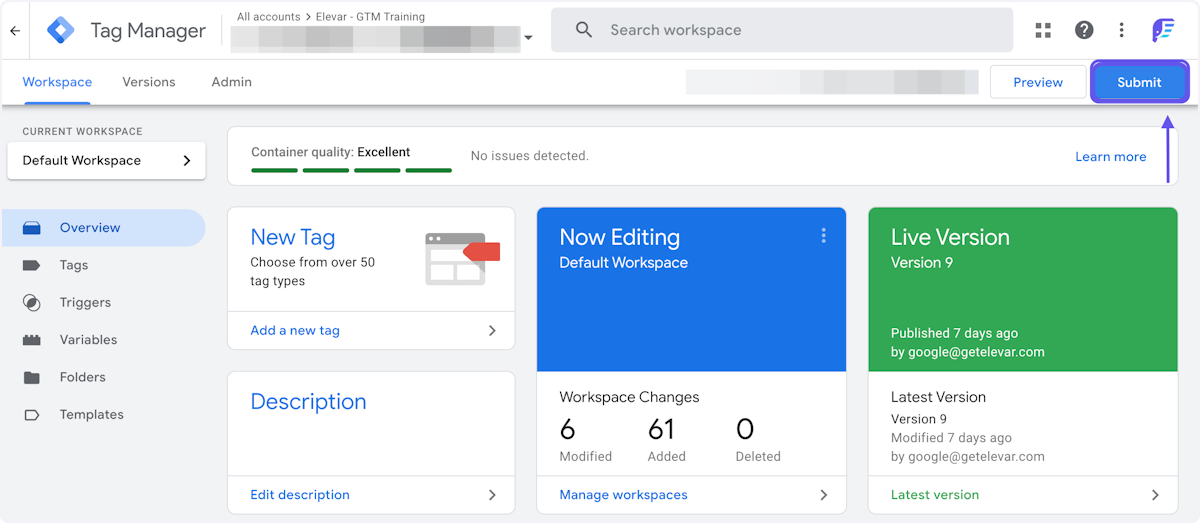
Figure 5
Updated 6 months ago
Did this page help you?