How to Create a TikTok Pixel
Learn how to create a TikTok pixel for use with our server-side TikTok destination
Overview
Follow this guide to learn how to create a TikTok Pixel.
In order to accurately track TikTok server side events you must be using a TikTok pixel created within TikTok and not generated through the Shopify integration. In most cases, if you have been tracking with the native Shopify TikTok integration, you will find that your pixel is created using the Shopify Method. Unfortunately, this cannot be changed, and you will need to create a new pixel.
How to Create a TikTok Pixel
Access Events Manager:
- Begin on the homepage of your TikTok Ads Manager account and use the top menu to click the "Tools" tab.
- An additional drop-down menu will appear, locate and click on the "Events" button.
Connect Data Source:
- Once on the Events Manager page of your TikTok Ads Manager account, click on the "Connect data source" button located in the upper right-hand corner of the page.
- (See Figure 1)

Figure 1
Connect Website with Data Source:
- After clicking on the "Connect data source" button, an additional pop-up will window will appear.
- Locate and click on the box titled "Web".
- After selecting the required information, click on the "Next" button located in the lower right-hand corner of the window.
- (See Figure 2)

Figure 2
Pixel Setup Method:
- After connecting your website to the data source, you will need to select a setup method.
- Navigate to the section of the window titled "Setup Method" and click on the box titled "Partner setup".
- Once you have selected the setup method, click on the "Next" button located in the lower right-hand corner of the window.
- (See Figure 3)

Figure 3
Select Integration Partner:
- After selecting the setup method, you will need to choose your Integration Partner.
- Navigate to the section of the page titled "Customer Data Platforms".
- Locate and click on the Elevar box.
- After selecting the Integration Partner, click on the "Next" button located in the lower right-hand corner of the window.
- (See Figure 4)

Figure 4
Name New Pixel:
- After selecting your Integration Partner, you will need to name the new pixel.
- navigate to the section of the window titled "Name your pixel" and use the text box to name your pixel.
- After creating a name for the new pixel, click on the "Next" button located in the lower right-hand corner of the page.
- (See Figure 5)

Figure 5
Conform Pixel:
- After creating a name for your new pixel, you will be brought to an overview page. Here you can view the pixel ID.
- (See Figure 6)

Figure 6
Troubleshoot with TikTok Pixel Helper
About TikTok Pixel Helper:
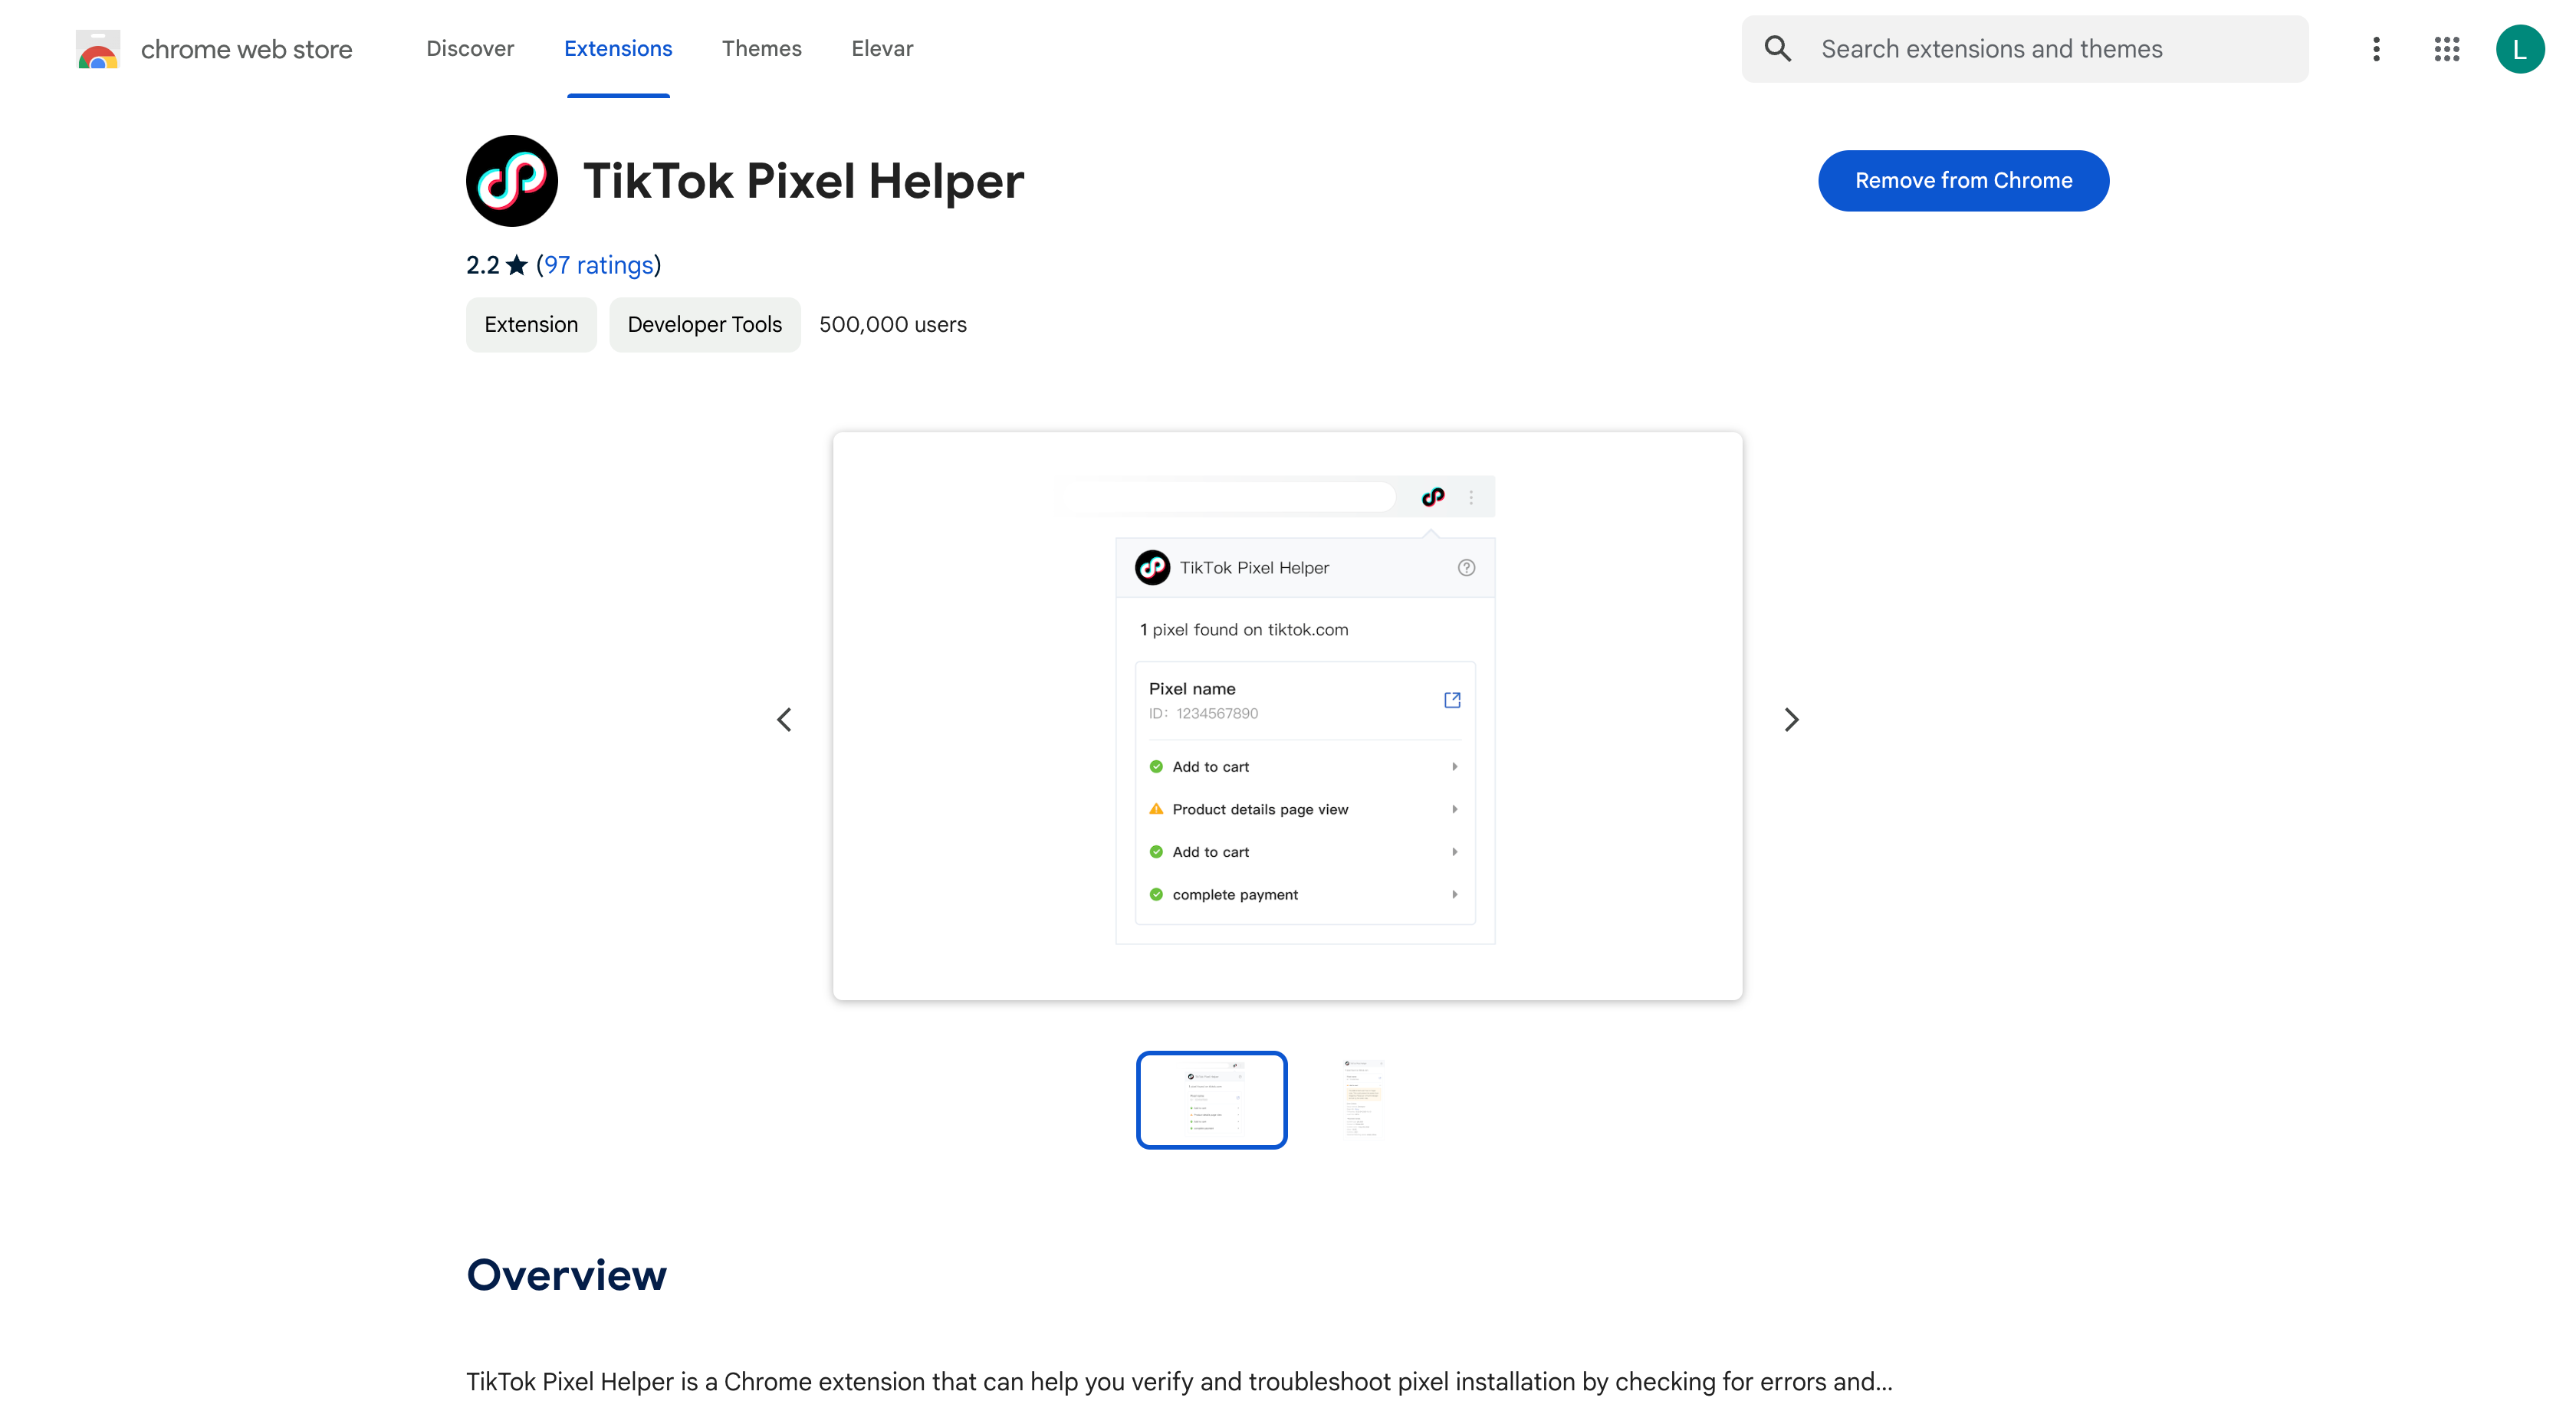
The TikTok Pixel Helper, a Chrome extension, assists in verifying and troubleshooting pixel installations on websites. It identifies errors and offers implementation suggestions to ensure accurate setup. This tool provides diagnostics for pixel, event, and parameter implementations.
TikTok Pixel Helper Extension:
- To access the TikTok Pixel Helper, download the extension from the Chrome Web Store.
- Use the search function to locate the "TikTok Pixel Helper" extension.
- Click on the "Install" button from the upper right-hand corner of the page.
- (See Figure 7)

Figure 7
Read this article to learn more about the TikTok Pixel Helper.
Updated about 2 months ago
