PieEye Consent Mode Integration
Overview
When utilizing Consent Mode with PieEye, each time a website user provides their consent preferences, PieEye will transmit a signal to GTM, which will then adjust the tag's behavior by the user's choice.
This adjustment ensures that the website refrains from collecting or using personally identifiable information and instead opts for aggregated data for its services.
Implementation Using Google Tag Manager Template
Set Up Google Tag Manager:
- Before proceeding, ensure that Google Tag Manager is set up for your website. For detailed instructions, follow this guide.
Access the Template Gallery:
-
Begin on your Google Tag Management homepage and use the left-hand navigation menu to click on the "Templates" tab.
- (See Figure 1)
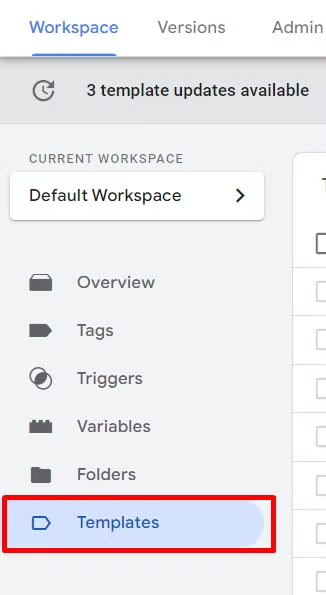
Figure 1
Locate and click on the "Search Gallery" button.
- (See Figure 1)

Figure 1
Locate PieEye in the Community Template Gallery:
- Once in the Templates settings of Google Tag Manager, locate and click on the "Search Templates" buttons.
- With in the Community Template Gallery, search for "PieEye".
- (See Figure 2)
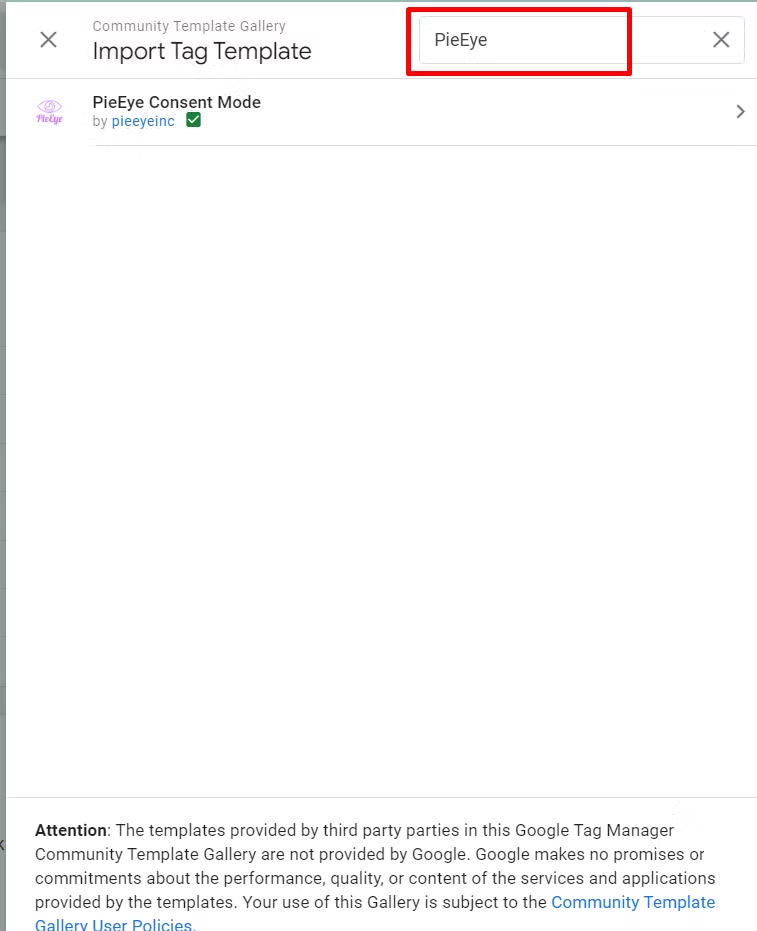
Figure 2
Add PieEye Consent Mode to Workspace:
- Once you have accessed PieEye in the Community Template Gallery, click on the "Add to workspace" button located in the upper right-hand corner of the page.
- (See Figure 3)
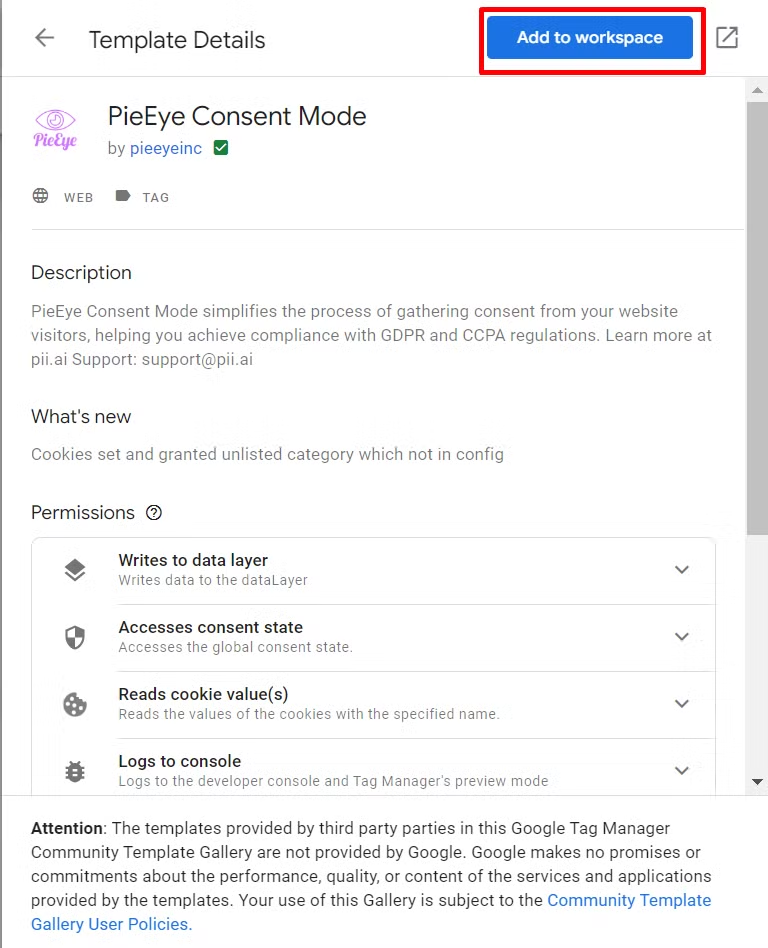
Figure 3
Create a New Tag:
- Return to the Google Tag Manager homepage and use the left-hand navigation menu and click on "Tags" tab.
- Once in the Tag settings, locate and click on the "New" button.
- (See Figure 4)

Figure 4
Name the Tag:
- Once you have created a new tag, ensure that you enter a name for the tag.
- Click on the text box in the upper left-hand corner of the window and enter a name for the new tag (e.g., PieEye Consent Mode).
Configure the Tag:
- Once you have entered a name for the tag, click on "Tag Configuration" button.
- Locate and click on the "PieEye Consent Mode" option.
- (See Figure 5)
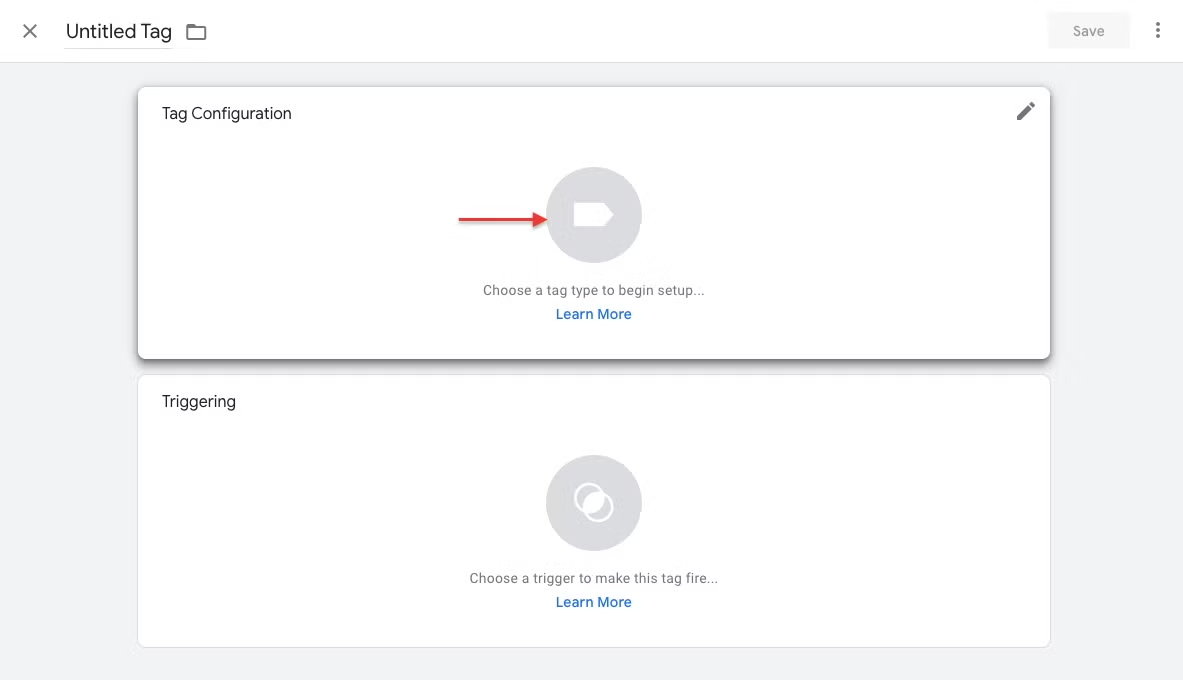
Figure 5
Set Default Consent Settings:
- Click on "Add Row" button to specify the default consent state and configure it to wait for an update for Google Consent Mode.
- If this is set to "denied," this will apply until the user provides consent. You can customize this behavior based on user preferences.
- wait_for_update (optional): Specify the waiting time in milliseconds before triggering tags that require consent, or leave it undefined.
- (See Figure 6)
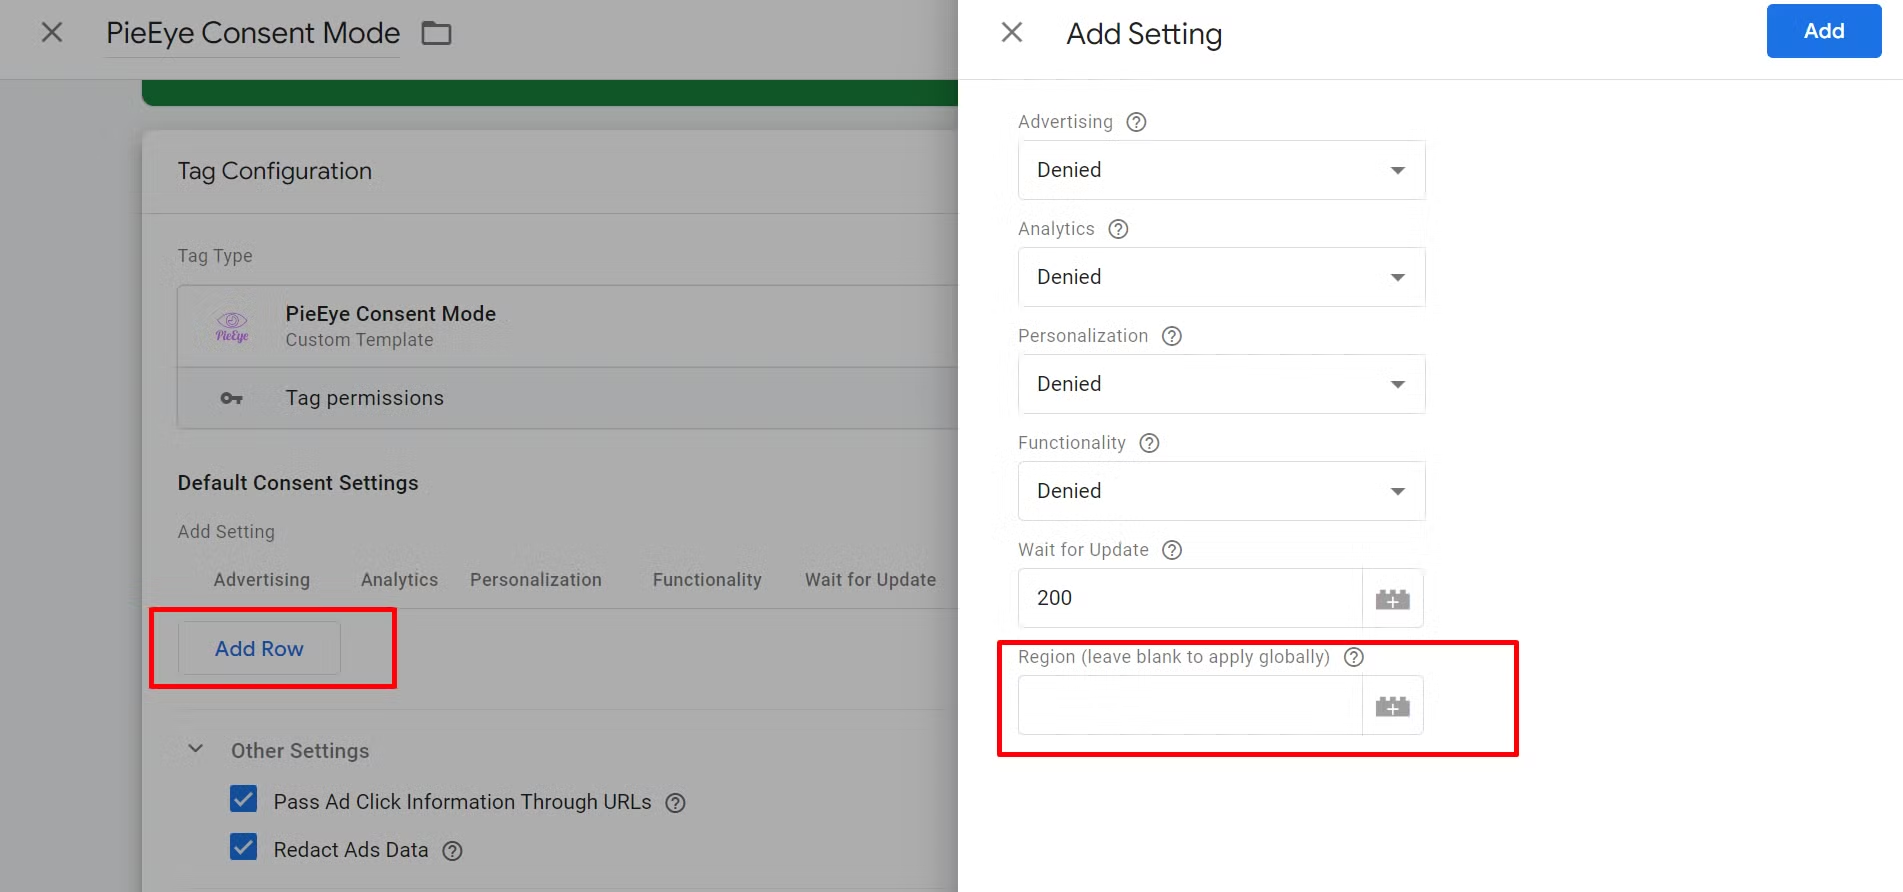
Figure 6
- In the Settings Screen, you can specify Region fields for default consent settings based on country codes. For example, for the EU region:
AX,AL,AD,AT,BY,BE,BA,BG,HR,CY,CZ,DK,EE,FO,FI,FR,DE,GI,GR,GG,VA,HU,IS,IE,IM,IT,JE,LV,LI,LT,LU,MK,MT,MD,MC,ME,NL,NO,PL,PT,XK,RO,RU,SM,RS,SK,SI,ES,SJ,SE,CH,UA,GB- For specific U.S. states:
US-CA,US-NY- To configure settings globally, leave the region field blank.
Additional Settings:
- Enable or disable the Pass Ad Click Information Through URLs and Redact Ads Data options based on your preferences.
- Pass Ad Click Information Through URLs: Enhances measurement quality when ad_storage is set to denied.
- Redact Ads Data: Redacts ad click identifiers when ad_storage is denied.
- (See Figure 7)
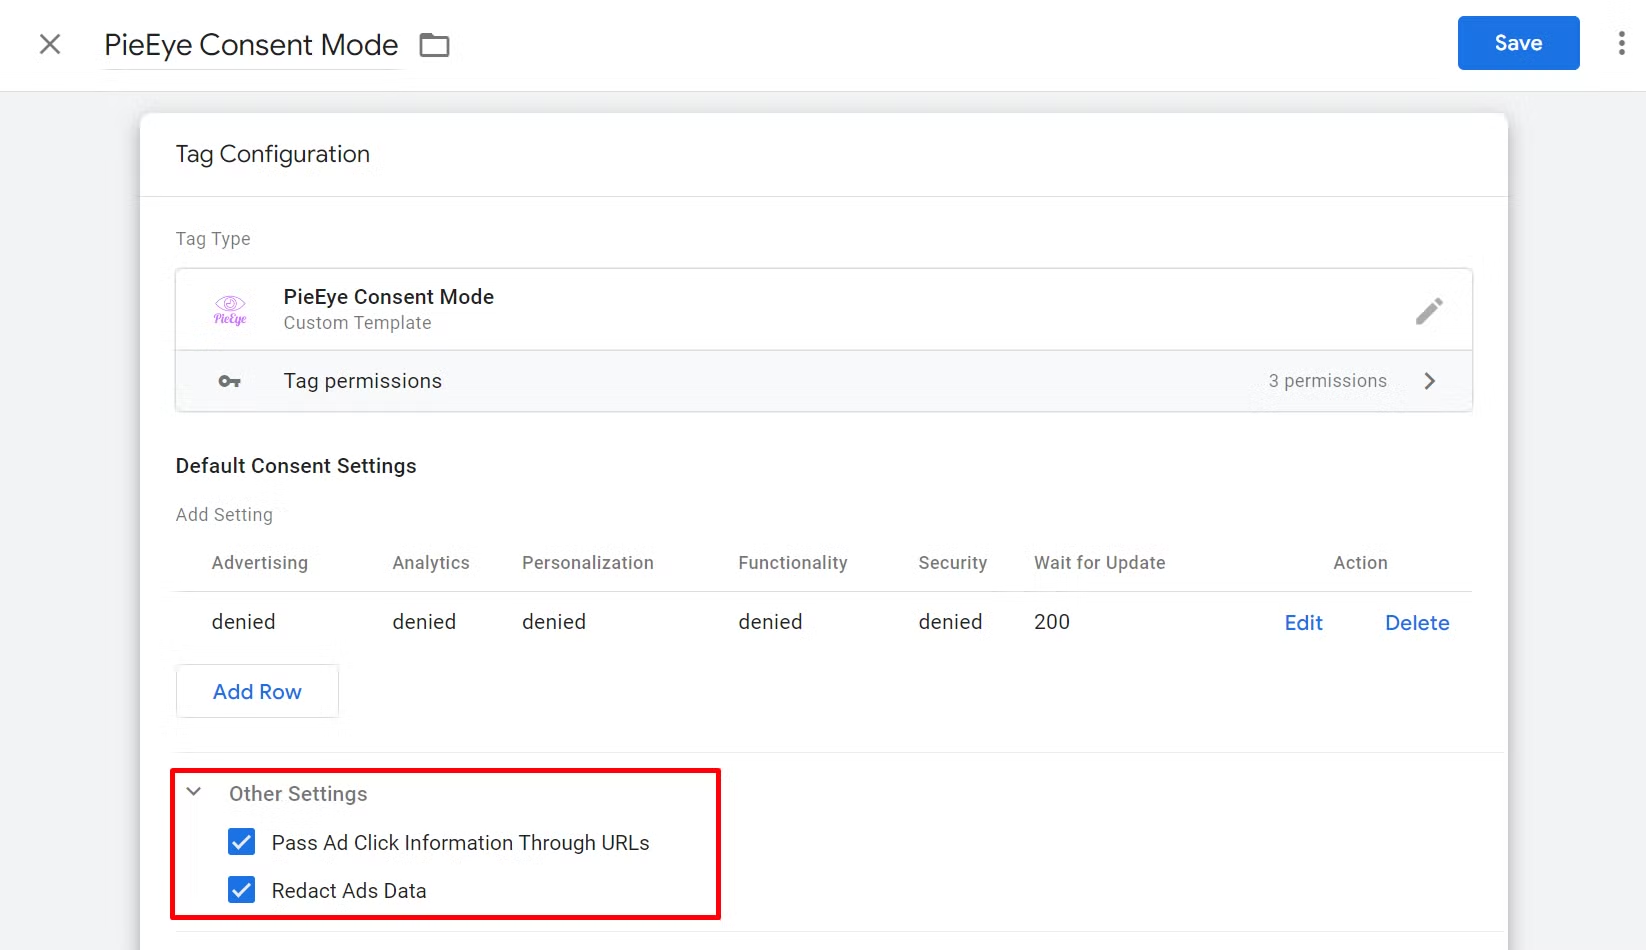
Figure 7
Set the Trigger:
- Choose Consent Initialization – All Pages as the trigger for this tag.
- (See Figure 8 )

Figure 8
Save the Tag:
- Click Save to finalize the integration of PieEye with Google Consent Mode.
Configure Additional Tags:
- Go to the Tags section and select any tag that requires triggering based on consent.
- (See Figure 9)
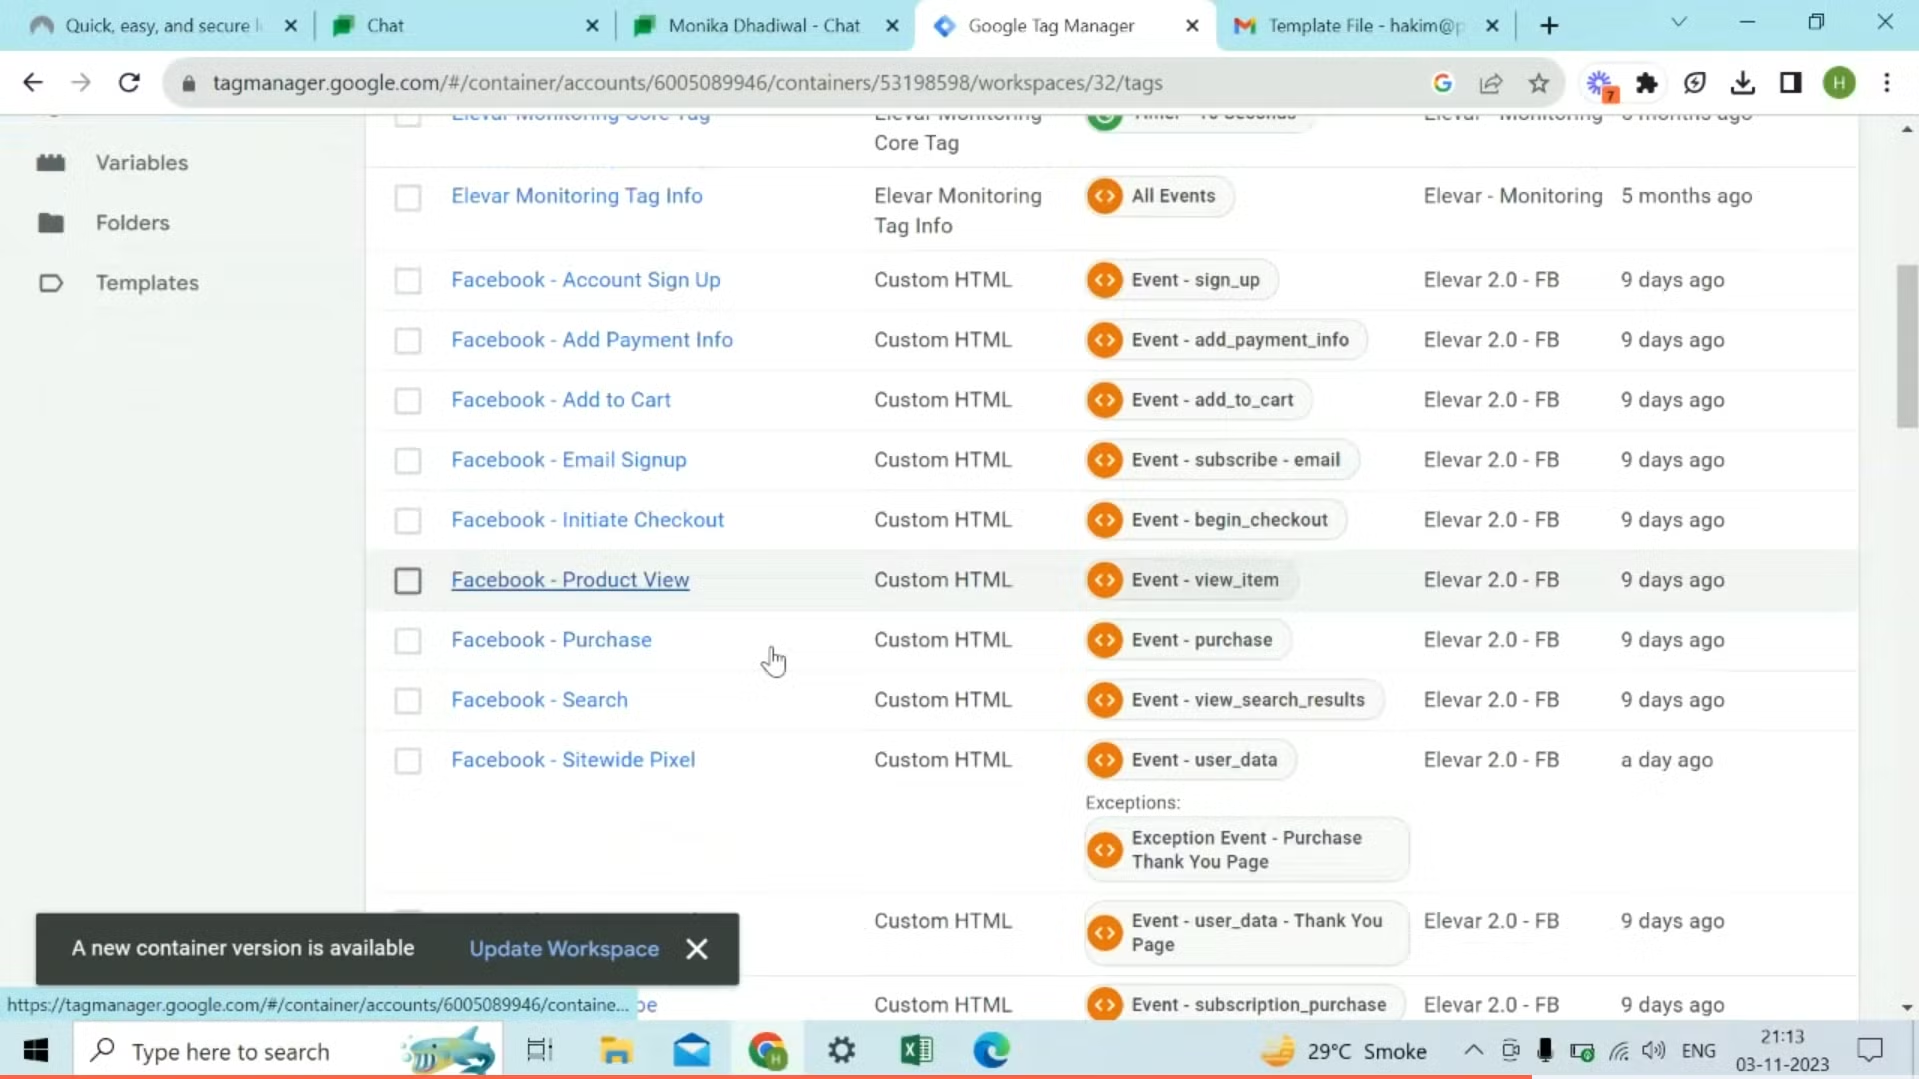
Figure 9
Final Settings:
- Scroll down to Require Additional Consent for the tag to fire and specify the consent types (e.g., ad_storage, analytics_storage, etc.).
- Once you have entered all of the required settings, click on the "Save" button located in the upper right-hand corner of the page.
- (See Figure 10)
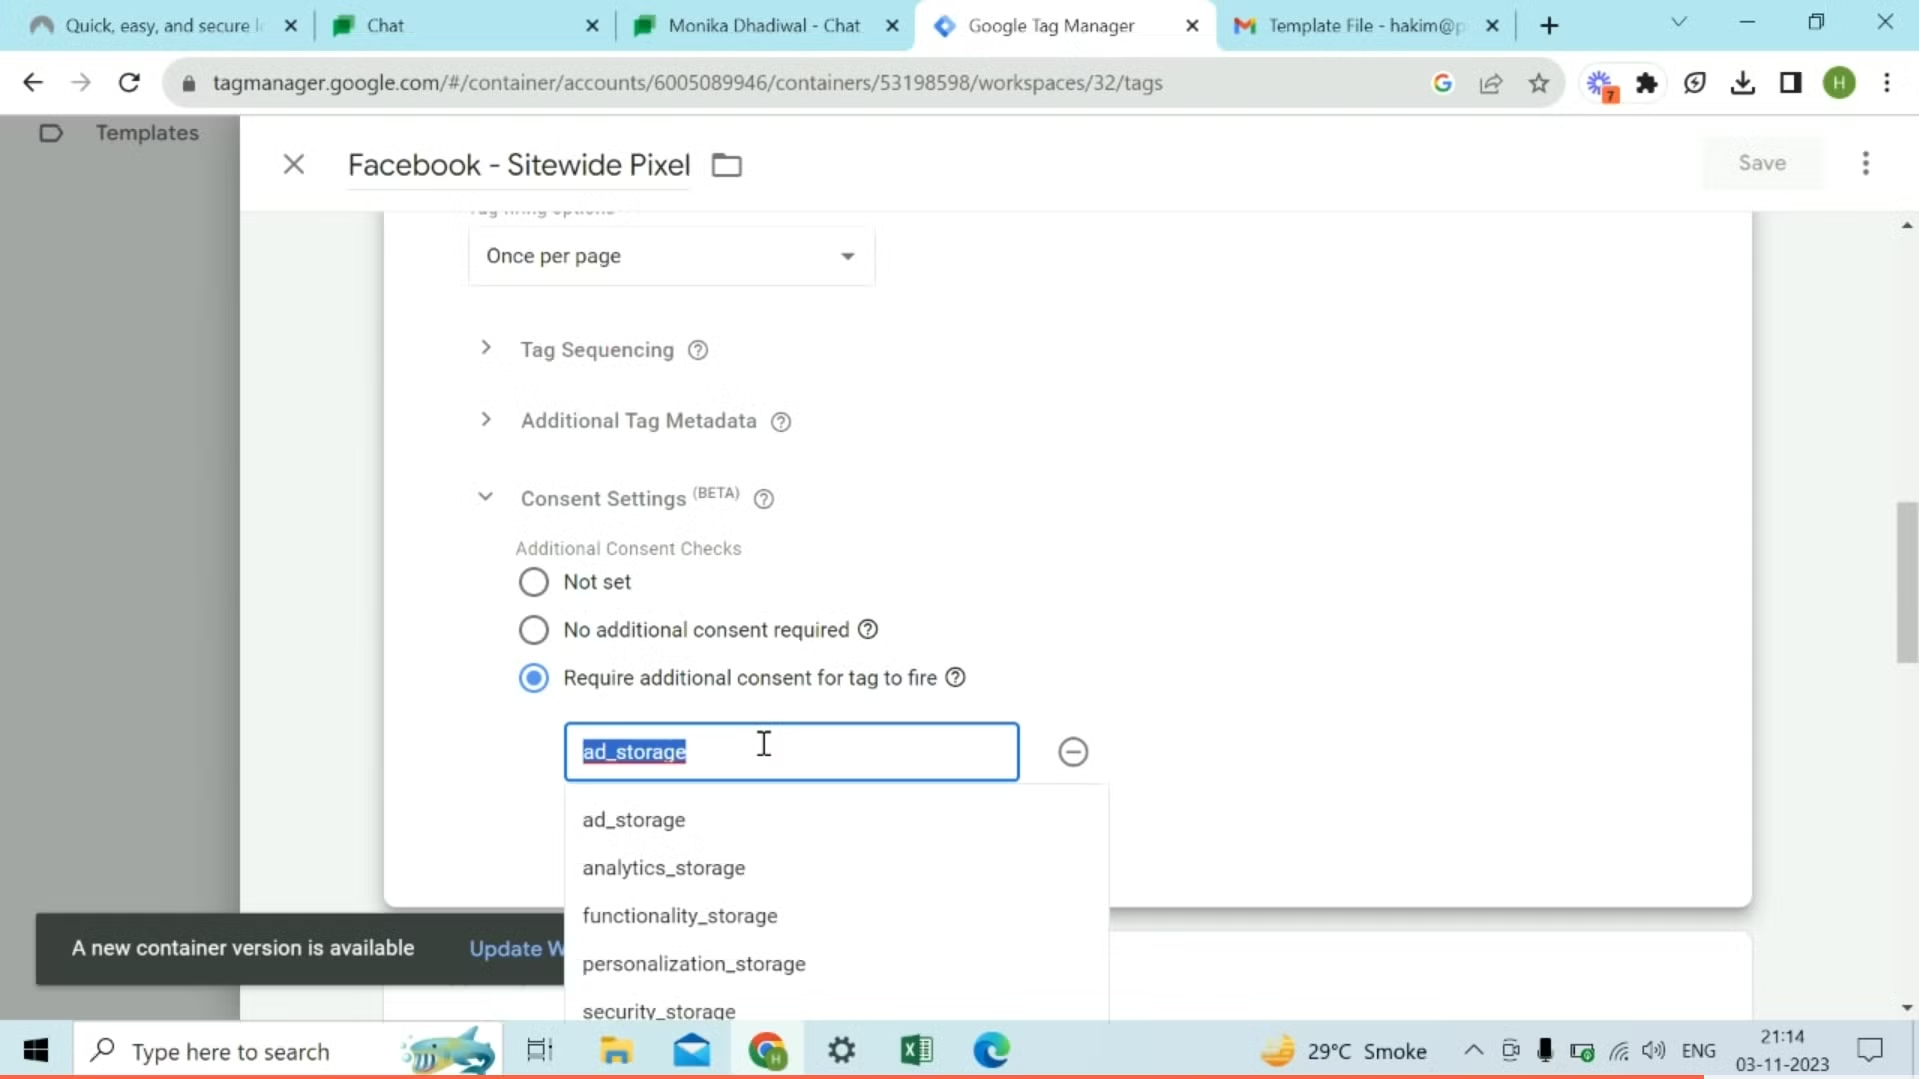
Figure 10
What's Next? Follow this guide to learn how to verify using Google Tag Assistant!
Updated 4 months ago
Did this page help you?