How to Use Elevar's GTM Event Builder
Overview:
If you can see it, you can track it!
Tagging your site gives you insight into what clicks and interactions on your website lead to conversions.
Just point and click on what you want to track, then name the event. We'll automatically create the tag and trigger in GTM for you.
Getting Started: Install and Setup Chrome Extension
Log Into Your Elevar Account:
- Log into your Elevar App.
- If you don't have an Elevar account, we recommend signing up for our Tagger Plan for as little as $19/month to build unlimited events.
- (See Figure 1)
 Figure 1
Install Elevar Chrome GTM Extension:
- Install the Elevar GTM Event Builder Chrome Extension.
- Once you have located the Chrome Extension, click on the "Add to Chrome" button.
- (See Figure 2)
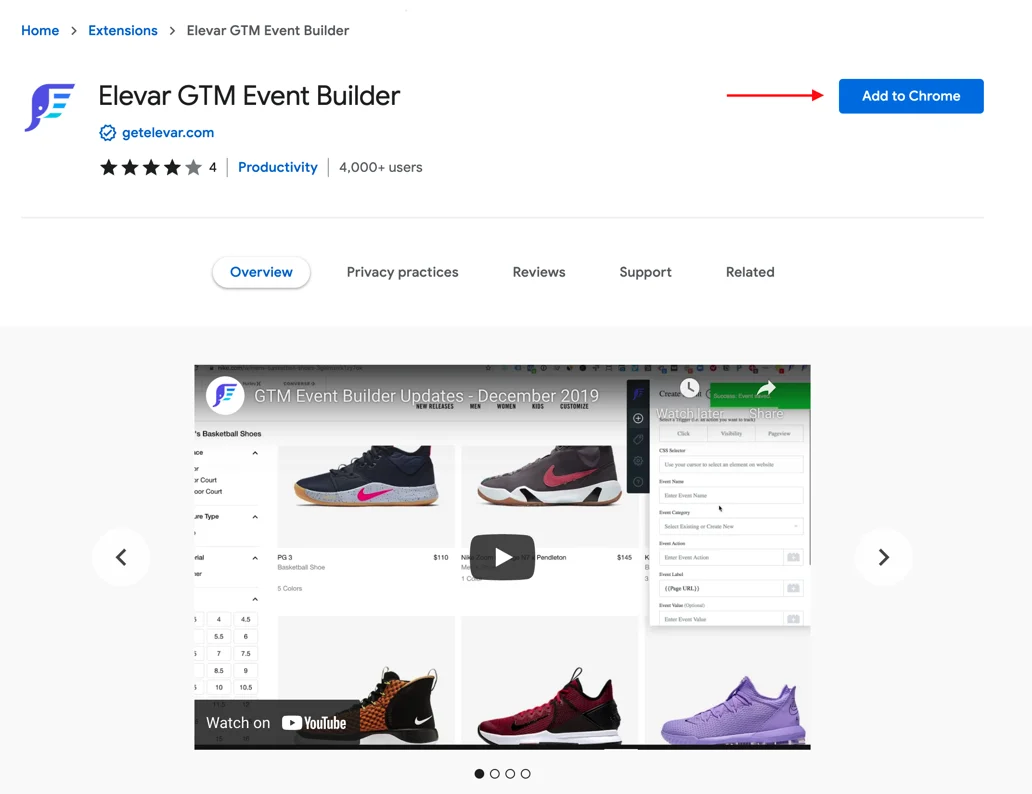 Figure 2
Authenticate your Google Accounts:
- Log into your Elevar account and access your settings by using the left-hand menu to click on the "Settings" button or the gear icon.
- Once in your settings, use the left-hand menu to click on the "Connections" tab.
- If you have not previously, authenticate your Google account. Then, connect your Google Account & Google Tag Manager account.
- (See Figure 3)

Figure 3
Select your GTM Workspace:
- If you have created a workspace in Google Tag Manager for setting up your Elevar tags and tracking select that workspace, otherwise select your default workspace.
- The workspace selected will be used if you choose to import tags created from the Chrome extension, however, you can download and import into any workspace you choose or update this setting before importing.
- (See Figure 4)
- The workspace selected will be used if you choose to import tags created from the Chrome extension, however, you can download and import into any workspace you choose or update this setting before importing.
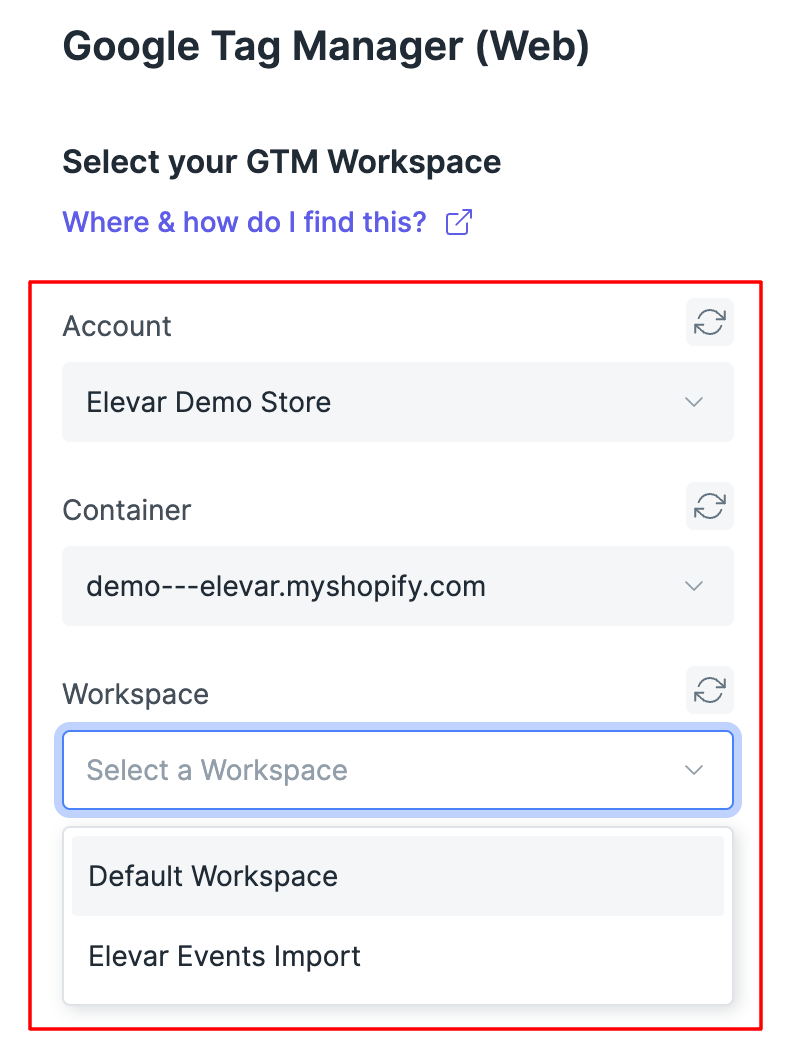
Figure 4
How to Create a GA4 Event:
Prefer to watch a video?Here is a step by step walk through of how to create a GA4 event!
Note: No tags will be published automatically, we only import tags to GTM (but never publish)
Open the Chrome Extension on your Website:
- Navigate to your website and open the chrome extension in your browser.
- (See Figure 5)
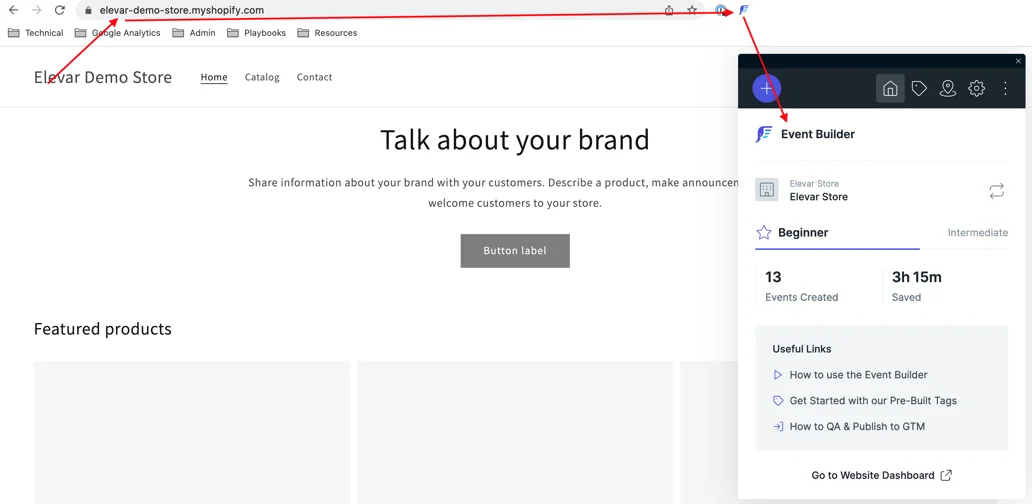 Figure 5
Create a Trigger:
- In the Chrome Extension, click on the purple plus "+" button.
- (See Figure 6)
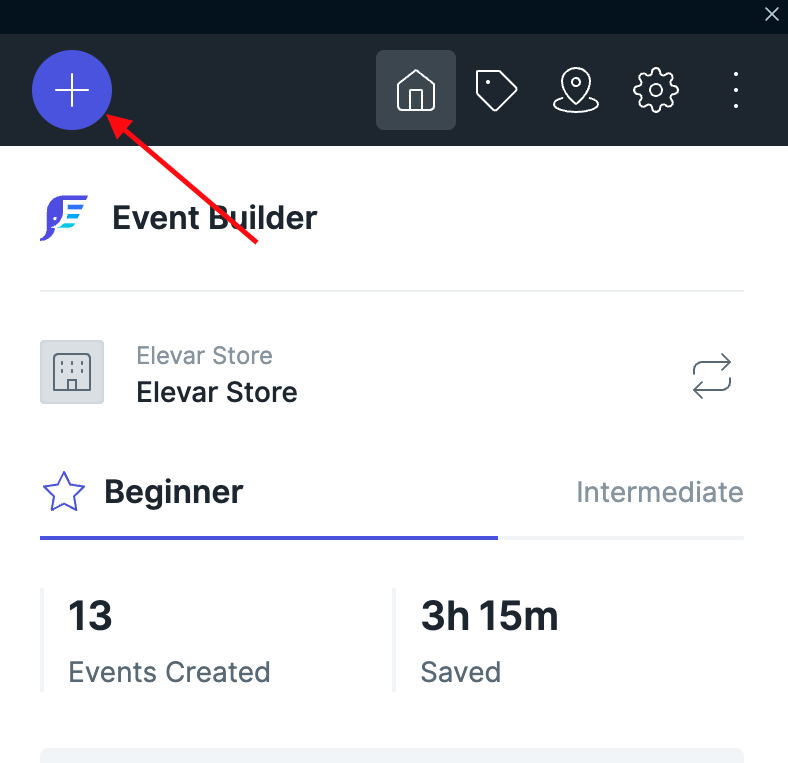 Figure 6
Configure New Trigger
- Begin by selecting the Trigger Type (e.g. the action you want to track)
- Click: an event that will fire when the user clicks on an element (most popular)
- Visibility: an event that will fire when a selected element becomes visible in the web browser's viewport (good for modals, UGC, scroll depth, etc)
- Pageview: an event that will fire immediately when the web browser begins to load a page. Use this if you only need data generated from page impressions.
- Form: this will allow you to select a form to target submissions.
- Move your cursor to select the elements that you want to create tags for.
- (See Figure 7)

Figure 7
Pro Tip: Use the Interactions option to lock and unlock the selector, allowing you to navigate to different pages on your site
- Choose your "Page Selection" (e.g. do you want this event to fire on all pages, this page only or certain pages).
- Click on the "Confirm & Save Trigger" button at the bottom of the extension window.
- (See Figure 8)
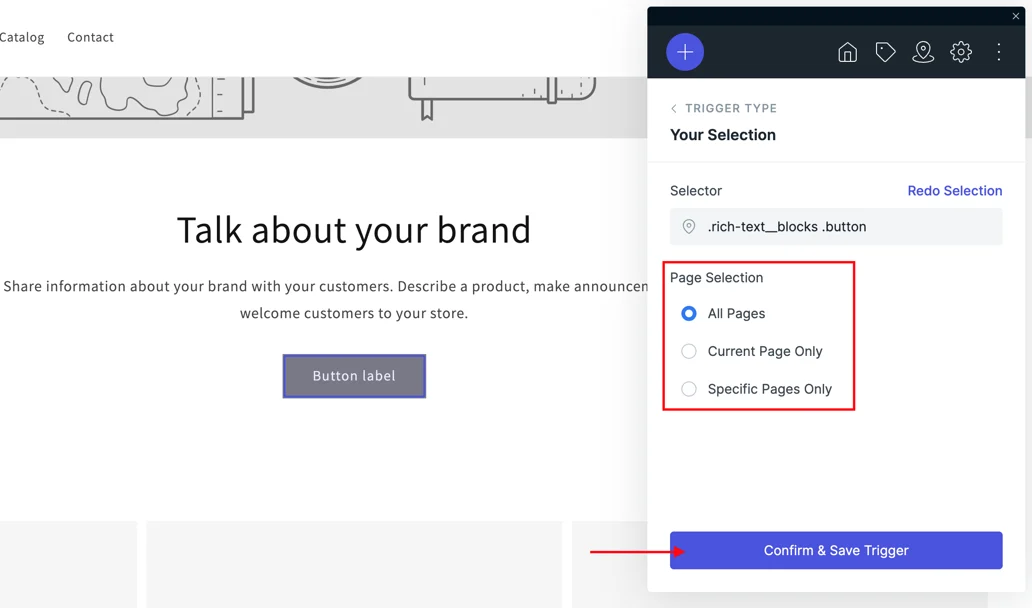 Figure 8
Create the GA4 Tag
- Click on the "Add New Tag" button.
- Select "Google Analytics GA4 Event" as the tag type.
- (See Figure 9)
Figure 9
Configure New Tag:
- Next, fill in the details for your new event!
- Configuration Tag - What GA4 property do you want this data to go? You'll see a list of available GA4 Base Tags.
- Event Name = behavior
- Event Parameters - Used to further identify specifics around the event. (i.e. Property Name = Page URL. Property
- Type = behavior
- Category = category of the event (e.g., home page)
- Action = name of the behavior (e.g., navigation click)
- Label =
{{Page URL}} - User Parameters - Used to further identify specifics around the user performing the action. (i.e. Property Name). Add any user properties you would like to pass as event scoped
- Tag Name - What do you want to name the Google Tag Manager Tag? Example: GA4 Event - Shop Now Button click
- Once you have configured the new tag. click on the "Save Tag Info". Then. select "Save Event"
Import Tags to GTM:
- Once you create one or more tags then you will be able to import these tags in bulk to GTM.
- (See Figure 10)
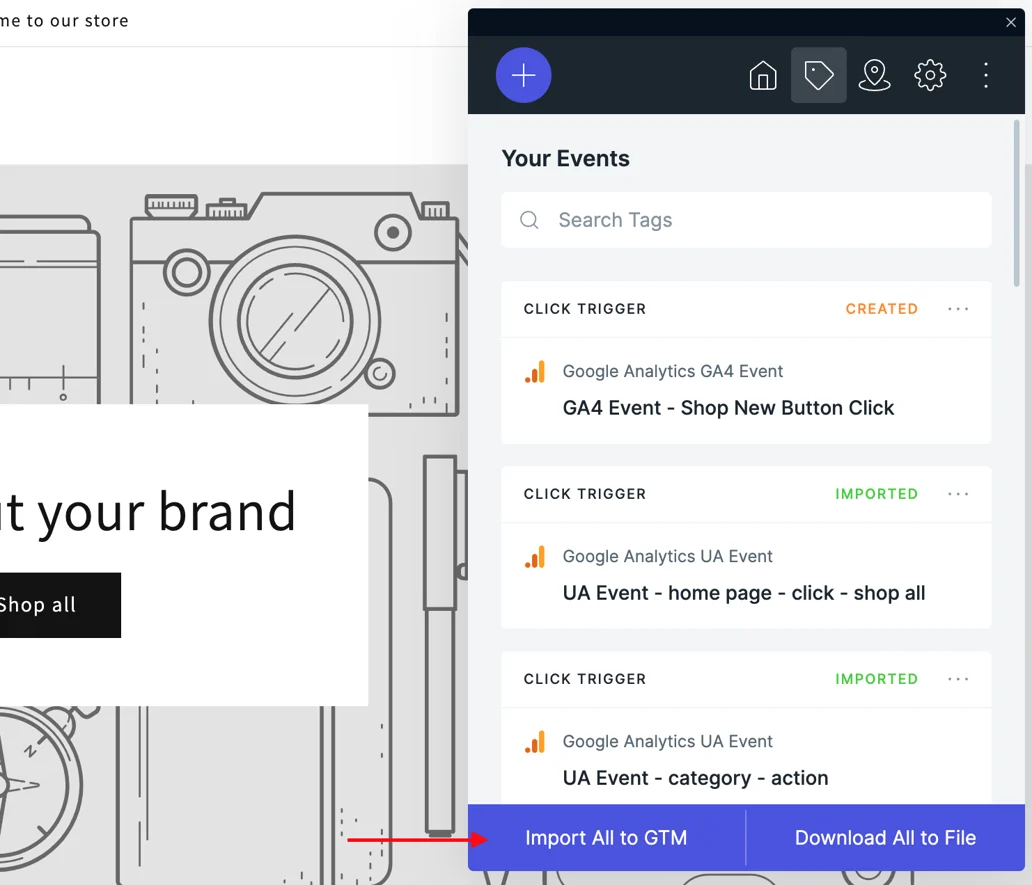 Figure 10
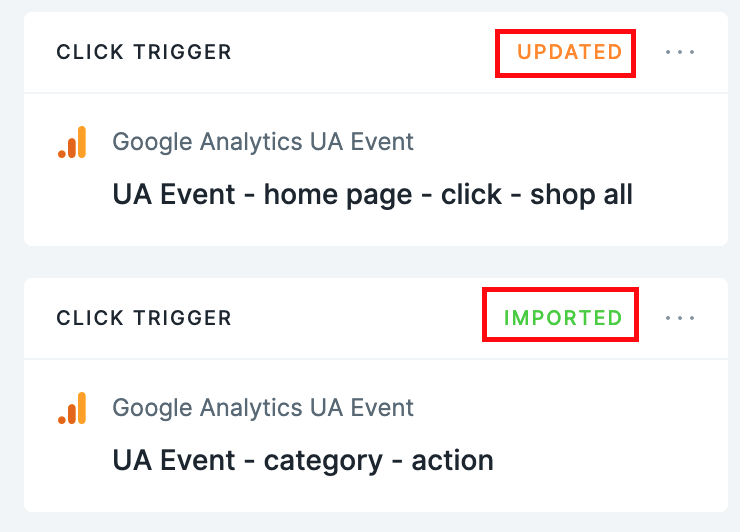
Tip: We keep track of what tags have already been imported (green) or still need to be (orange).
Publish Your Tags
- Log into your GTM account to review your new tags, and publish them.
- (See Figure 11)
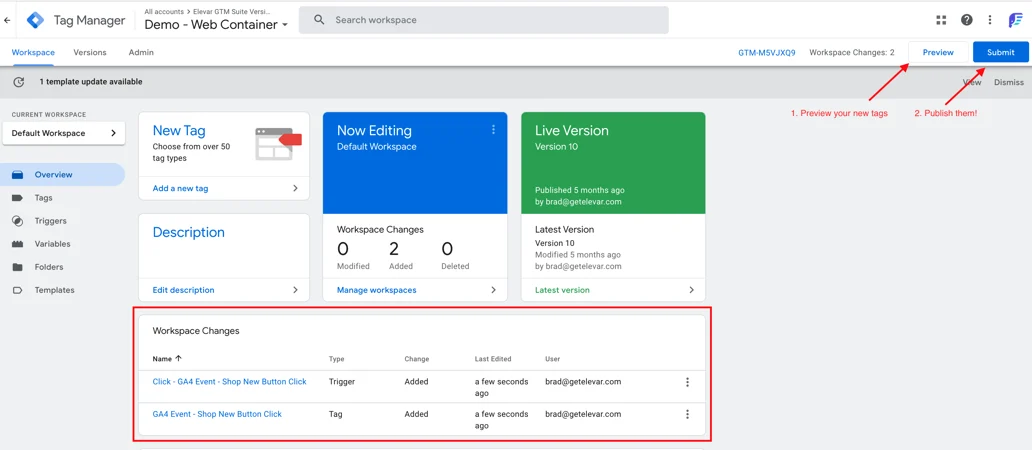 Figure 11
Troubleshooting
General:
- We always recommend testing the triggers using Google Tag Manager's preview mode to verify that they will fire as you'd like!
Element Selection:
- Our Chrome Extension finds the best guess of what you should use as the CSS selector & tries to find a unique selector. This works well for the majority of the time, but there are some instances where it will not work:
- If you see a :_root_: selector, this will not work in Google Tag Manager.
- If you see a [src:]: selector, this will not work in Google Tag Manager.
- If you see a [area label]: selector, this will not work in Google Tag Manager.
- In general all elements enclosed with "[]" square brackets won't work in GTM.
Headless Websites:
- If your website is headless, the pageview trigger will not work. This is because a headless website essentially has one single pageview & the content dynamically changes.
- You can still use the click triggers with Elevar's Chrome Extension.
Updated 6 months ago
Did this page help you?