How To Remove Elevar from Website and Cancel Account
Learn how to remove Elevar from your website and cancel your Elevar Account
Overview
Follow this guide to learn how to remove Elevar from your Website and cancel your account.
We hate to see you go but understand circumstances change. If we failed to meet any expectations that you had when signing up to Elevar, please reach out to us by email - [email protected] - to see if it's a configuration issue matter that we can resolve quickly.
If you have any feedback for us, good or bad, we would love to hear it!
How to Disable Elevar Tracking
Customize Shopify Theme:
- Begin on your Shopify homepage.
- Using the side menu, ensure that you are under the tab labeled "Online Store" and click on the "Themes" tab.
- Locate and click on the "Customize" button
- (Figure 1)
 Figure 1
Disable the App Theme Embed:
- Once in the Customize settings, use the side menu and click on the "App Embeds" tab.
- Use the search feature and locate the Elevar App Embed.
- Use the toggle to disable Elevar.
- Repeat these steps for any themes you are currently using.
- After making the desired changes, be sure to click on the "Save" button in the upper right-hand corner of the page.
- (Figure 2)
 Figure 2
Remove Destination
Access Destinations:
- Begin on the Elevar homepage and use the left-hand navigation menu to click on the "My Tracking" tab.
- Navigate to your list of destinations and click on the desired destination that you would like to remove.
- (See Figure 3)

Figure 3
Go Offline and Remove:
- After clicking on the desired destination, you will be brought to an overview page.
- Navigate to and click on the "Go Offline" button.
- Once you have gone offline with the desired destination, click on the three dots located in the upper right-hand corner of the page. An additional drop-down menu will appear, click on the "Remove destination" tab.
- A confirmation pop-up window will appear titled "Remove Destination". Click on the "Yes, Go Offline" button in the lower right-hand corner of this window.
- Repeat this process for any remaining destinations.
- (See Figure 4)

Figure 4
Disconnect the Elevar Custom App Pixel
Navigate to Settings:
- Begin on the homepage of your Shopify app.
- Locate and click the "Settings" button or gear icon located in the lower left-hand corner of the page.
- (See Figure 5)

Figure 5
Access Customer Events:
- Once in the settings, a navigation menu will appear on the left-hand side of the page.
- From this menu, find and click on "Customer events" tab.
Locate "Elevar - Checkout Tracking" Custom App:
- Within the "Customer Events" section, a list of previously installed apps and custom pixels will appear.
- Locate the "Elevar - Checkout Tracking" pixel from this list.
- (See Figure 6)

Figure 6
Disconnect Elevar Custom App Pixel:
- Once you have access the Elevar Checkout Tracking Pixel, click on the "Disconnect" button located in the upper right-hand corner of the page.
- (See Figure 7)
- An additional popup window will appear asking for confirmation. Within this confirmation window, locate and click "Disconnect" button located in the lower-right hand corner.

Figure 7
Remove Checkout Scripts for Older Datalayer Versions
If you are not on the latest datalayer version, follow this guide to learn how to remove the checkout scripts.
Access Order Status Page Additional Scripts:
- Begin on your Shopify homepage and click on the “Settings” button or gear icon in the lower left-hand corner of the page.
- Use the side menu to locate and click on the "Checkout" tab.
- Scroll down to the "Order Status Page" section of the settings and locate the "Additional Script Box".
- Remove the Elevar "Thank you page" script and dataLayer listener. Make sure you will not remove other marketing channel scripts that you have in place.
- (See Figure 5)
- Remove the Elevar "Thank you page" script and dataLayer listener. Make sure you will not remove other marketing channel scripts that you have in place.
- Scroll down to the "Order Status Page" section of the settings and locate the "Additional Script Box".
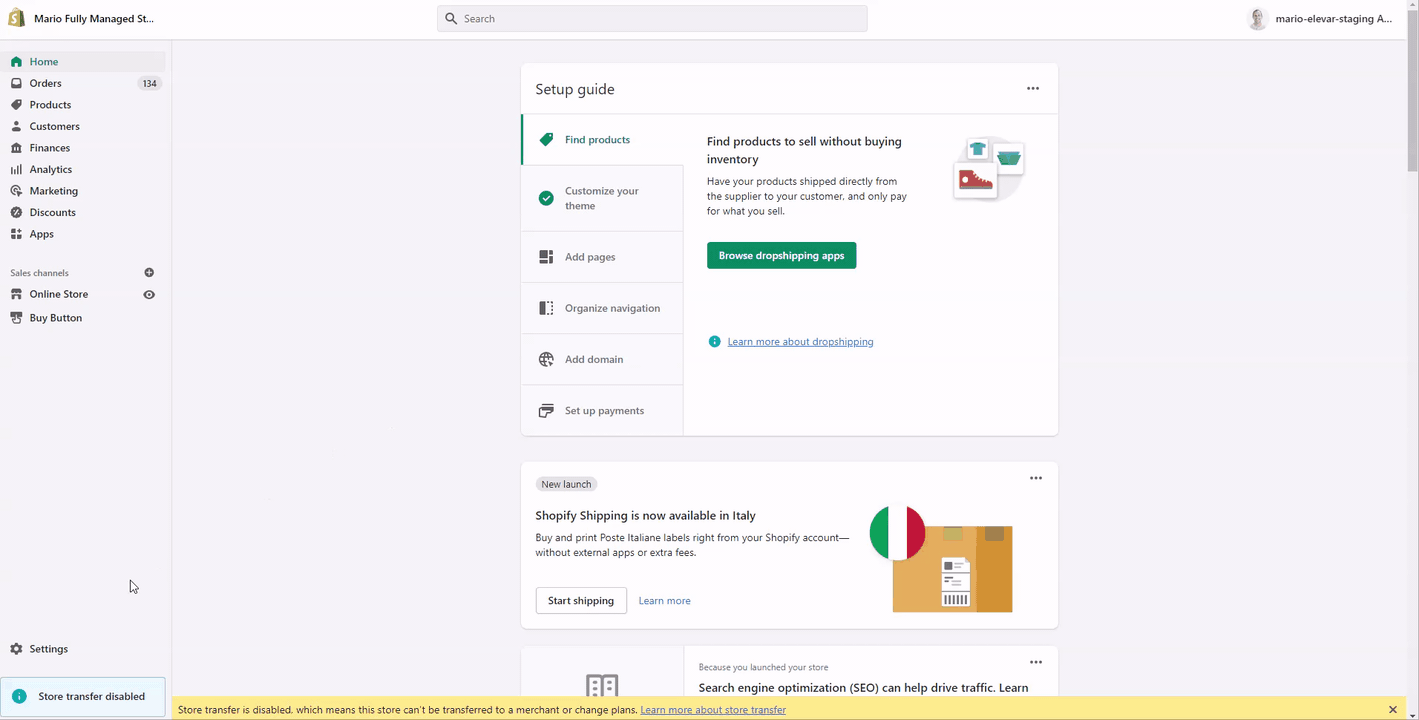 Figure 5
At this point, please note that any tracking you have live via GTM or our server-side destinations will no longer work. So be sure to add those tracking via other methods to reduce downtime.
Re-implementing Marketing Channels via Another Process
- Navigate to your GTM Web Container, and list all the tracking you have in place using Elevar Integration.
- Facebook Pixel
- Google Analytics
- Google Analytics 4
- Google Ads
- TikTok
- Here are the other reimplementation methods you can utilize:
- Using the native Shopify Integration (e.g., FB and GA)
- Using a third-party app in Shopify (e.g., Shopify Sales Channels)
- Embed (hardcode) the tracking script manually into your live theme and navigate to the checkout settings. Then locate the "Order Status Page" section and navigate to the "Additional Script Box".
- Reusing Google Tag Manager without Elevar’s DataLayer (Please check the respective marketing channel for their own setup documentation in GTM)
Cancel Plan
To close your entire Elevar account and delete all of your settings and data, follow these steps. This is to make sure as well that you will not be billed on the next billing cycle.
Access Plan Settings:
- From your Elevar homepage, use the side menu to locate and click on the "Settings" tab.
- Once in the settings, use the side menu to locate and click on the "Plan and Usage" tab.
- Click on the "Cancel Website Plan".
- (See Figure 6)
- Click on the "Cancel Website Plan".

Figure 6
Cancel Website Plan:
- After clicking on the "Cancel Website Plan" button, you will be brought to an overview page.
- While it is not necessary, we would love to know why you want to cancel you plan. You can do this by selecting one of the options under the "Can you tell us why you want to cancel your plan?" section of the page.
- Additionally, it is not necessrly but you have the option to include any other information or feedback you have by using the textbox under the "Before you cancel, we'd love to know more" section.
- Once you are ready to cancel your plan, locate and click on the "Cancel Plan" button located at the bottom of the page.
- (See Figure 7)

Figure 7
Optional
You can delete your company and website records from the Elevar app, the tags, triggers, and variables in GTM, and App [Elevar Tag Management Suite] from your store.
Delete company and website records:
- Begin on your Elevar homepage and use the side menu to click on the "Settings" tab.
- Once in the settings, use the side menu to locate and click on the "Website Info" tab.
- Click on the "Delete Website" button at the bottom of this page.
- An additional pop-up window will appear where you need to confirm your choices.
- Then repeat this process with your Company Info.
- (See Figure 8)
 Figure 9
Delete Tags, Triggers, and Variables:
- Begin on your homepage of Google Tag Manager.
- Use the left-hand menu to click on the "Tags" tab. Select all of the Elevar Tags and then click on the "Delete" button or the trash can icon.
- Use the left-hand menu to click on the "Triggers" tab. Select all of the Elevar Triggers and then click on the "Delete" button or the trash can icon.
- Use the left-hand menu to click on the "Variables" tab. Select all User-Defined Variables and then click on the "Delete" button or the trash can icon.
- Be sure to save your changes by clicking on the "Submit" button in the upper right-hand corner of the page. For the Version Name, type "Removed all Tags, Triggers, and Variables".
- (See Figure 9)
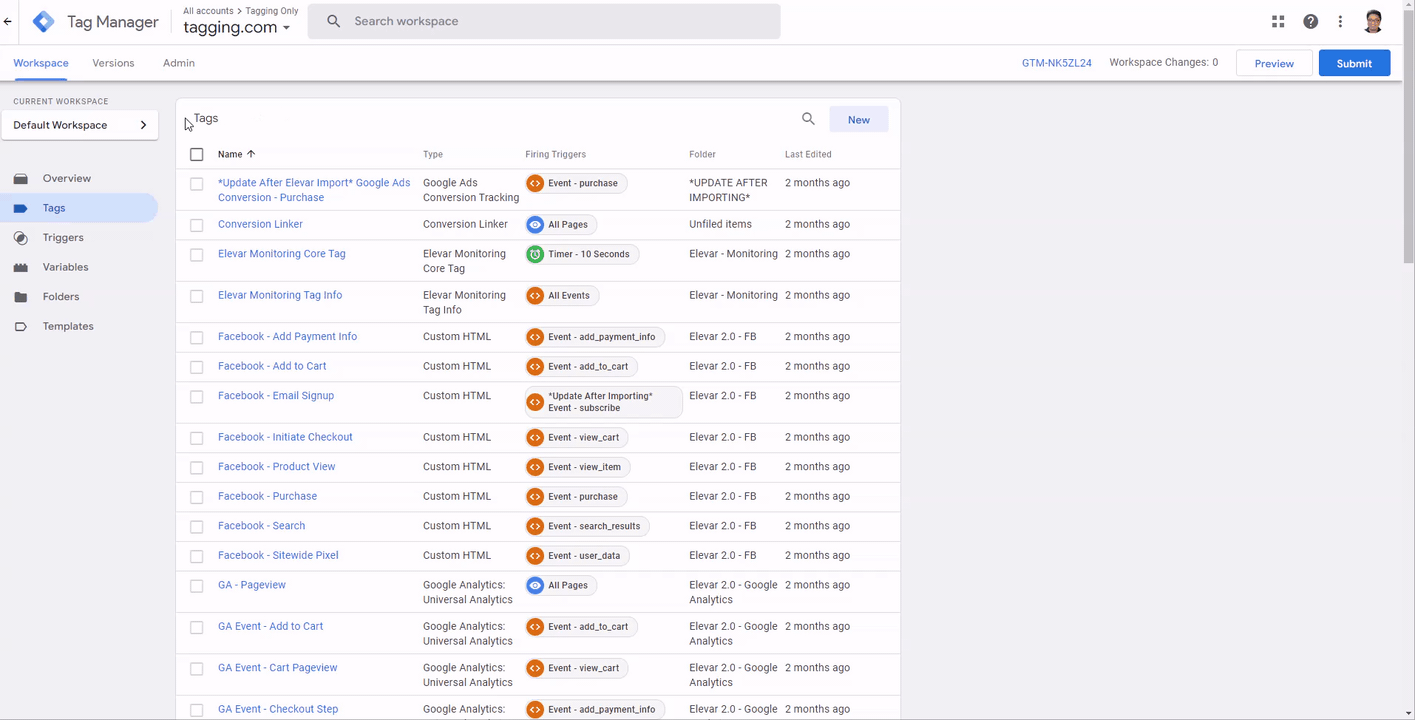 Figure 9
Delete the Elevar app from the store:
- Begin on your Shopify homepage and click on the "Settings" button or the gear icon in the lower left-hand corner of the page.
- Once in the settings, use the left-hand menu to locate and click on the "Apps and sales channels" tab.
- Locate the "Elevar Conversion Tracking" app.
- Click on the three dots. An additional drop-down menu will appear and click on the tab labeled "Uninstall".
- (See Figure 10)
 Figure 10
Warning: This cannot be undone!
If you have any questions please do let us know. Thank you for your support.
Updated 6 months ago