How To Disable Meta (Facebook) Pixel in Shopify
Learn more about the importance of the Meta (Facebook) Pixel and how to disable the Meta (Facebook) Pixel in Shopify to ensure proper implementation.
Overview
Follow this guide to learn how to disable the Meta (Facebook) Pixel in Shopify.
Understanding Disabling the Meta Pixel in Shopify:
Disabling the Meta pixel is required if you are launching the Meta Conversion API via Google Tag Manager and Elevar Server-Side tracking. This is a necessary step and you must complete this step after publishing your Meta (Facebook) Pixel and Conversion API setup.
To disable the Meta (Facebook) Pixel in Shopify, you will need to disable Meta (Facebook) data sharing and remove the Facebook Pixel from your Shopify preferences.
NOTE: Deduplicating EventsMeta (Facebook) will not deduplicate events sent from Shopify native pixel and Google Tag Manager. You can't have both enabled for purchase or other conversion events otherwise you'll see duplicate tracking.
How to Disable Meta (Facebook) Pixel in Shopify
Access Meta (Facebook) Sales Channel:
- Begin on your Shopify homepage and use the left-hand menu to click on the "Sales channels" tab.
- Use the search function to locate the Meta (Facebook) sales channel.
- (See Figure 1)

Figure 1
Access Data Share Settings:
- Once in the Meta (Facebook) sales channel, use the top navigation menu and click on the "Settings" tab.
- Navigate to the section of the page titled "Share Data" and locate the box titled "Enhanced". Click on the "Change" button.
- (See Figure 2)

Figure 2
Disable Meta (Facebook) Data Sharing Preferences:
- After clicking on the "Change" button, an additional window will appear titled "Manage Meta (Facebook) and Instagram data sharing preferences".
- Locate the section titled "Share Data" and use the toggle to disable sharing customer activity data.
- Once you have entered all of the required information, click on the "Save" button located in the bottom right-hand corner of the window.
- (See Figure 3)

Figure 3
Confirmation:
- If you have turn off the data sharing for the Meta (Facebook) sales channel, your settings will now reflect this change.
- (See Figure 4)

Figure 4
Confirm The Meta (Facebook) Pixel is Disabled
Once you have completed both of the steps above, you can confirm that the Meta (Facebook) Pixel has been disabled.
- Refresh your page. You can open the page in an incognito window or complete a hard refresh of your browser.
- Then you can view the page source.
- Shortcut (Windows PC): Press Ctrl+U
- Shortcut (Mac): Command+Option+U
- Then, click Command + F and search "Meta (Facebook) pixel".
- If you do not see the Meta (Facebook) pixel, then it has successfully been disabled. If you see the Meta (Facebook) Pixel, then it is still enabled. Follow this guide to learn how to troubleshoot if Shopify is still loading your Facebook Pixel even if you have removed it from the native app
- (See Figure 5)
- If you do not see the Meta (Facebook) pixel, then it has successfully been disabled. If you see the Meta (Facebook) Pixel, then it is still enabled. Follow this guide to learn how to troubleshoot if Shopify is still loading your Facebook Pixel even if you have removed it from the native app
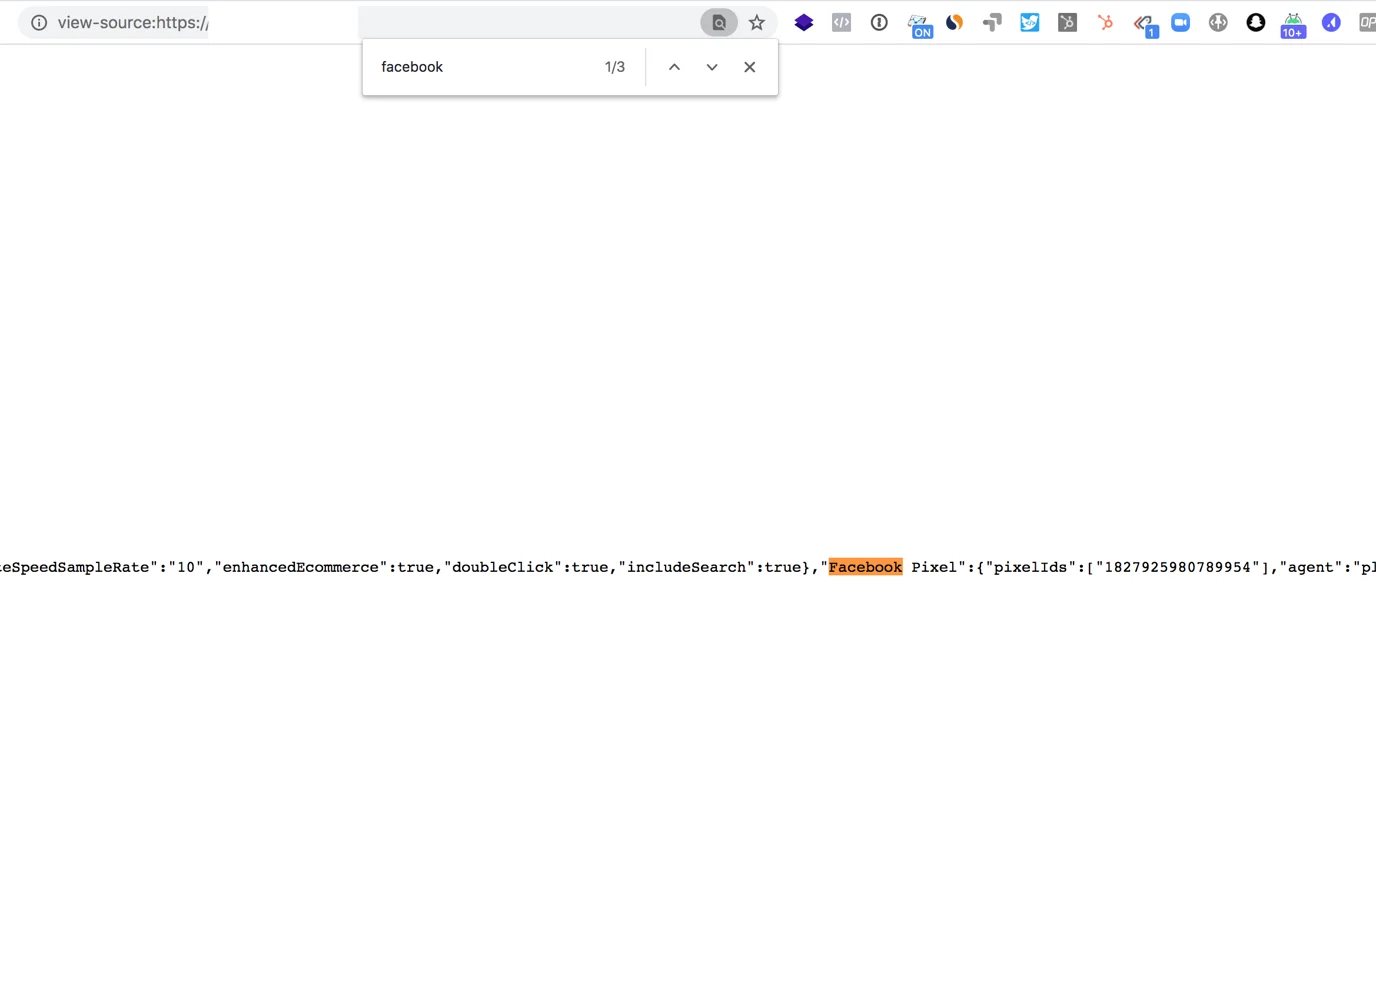 Figure 5
Updated 6 months ago