How to Send Dynamic Country Codes for Google Ads Remarketing Tags
Learn more about dynamic country codes and how to send them to Google Ads remarketing tags based on website domains.
Overview
Follow this guide to learn how to customize your Google Ads Remarketing tags to pass dynamic country codes based on website domains.
The Challenge:
Let's say you want to make a Google Ads retargeting campaign and you want to show the product in the shopper's desired currency.
You then add multiple of the same product to your Merchant Center. These duplicates show the same product but with different currency/price data. And you use different product IDs to distinguish between them like the below:
  'id': 'shopify_US_PRODUCTID_VARIANTID'
  'id': 'shopify_UK_PRODUCTID_VARIANTID'
  'id': 'shopify_AU_PRODUCTID_VARIANTID'
How do you dynamically change the product ID passed in your remarketing tags to match?
Prerequisites:
- Ensure that you have installed our Shopify source. If not, follow this guide to learn how to implement the Shopify Source on your Shopify store.
Create Lookup Table Variable
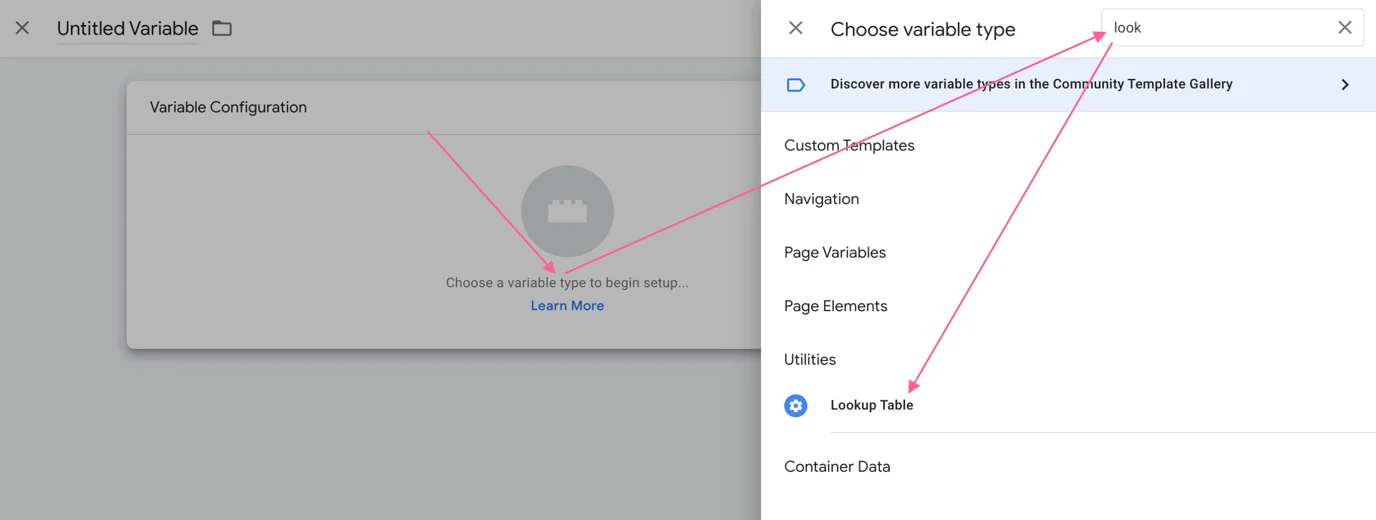
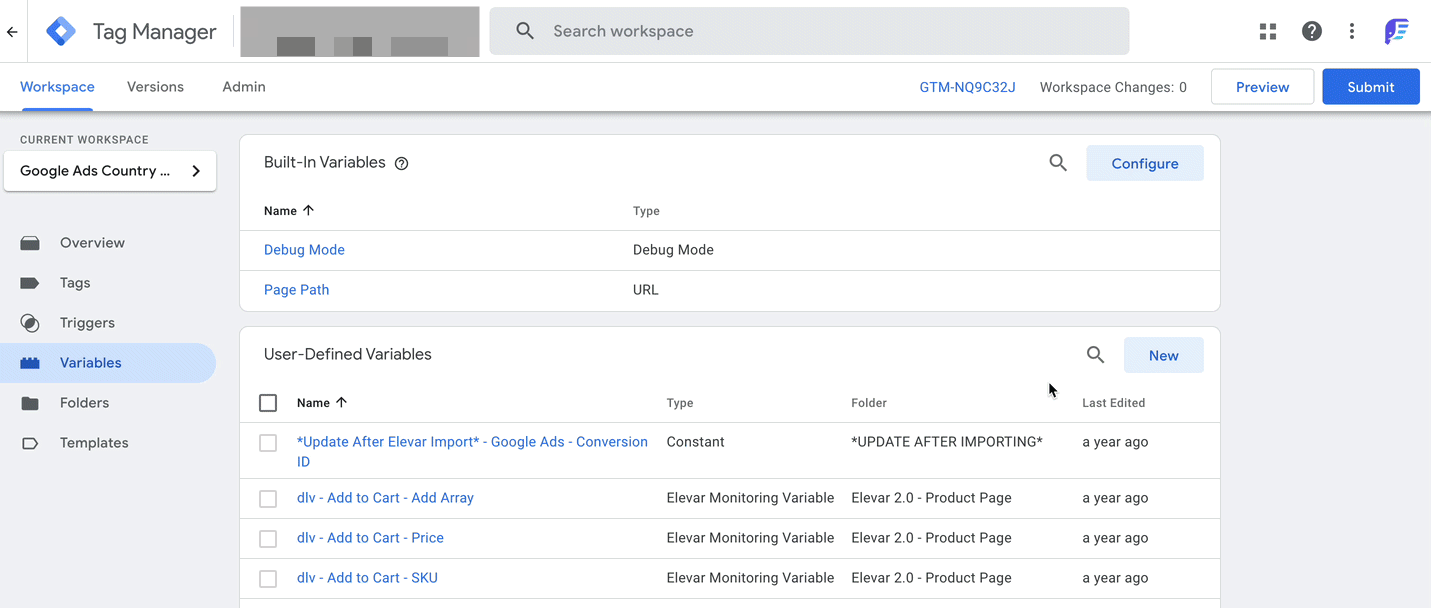
- In Google Tag Manager, navigate to Variables > Select New under User-Defined Variables

- Select Lookup Table as the Variable Type
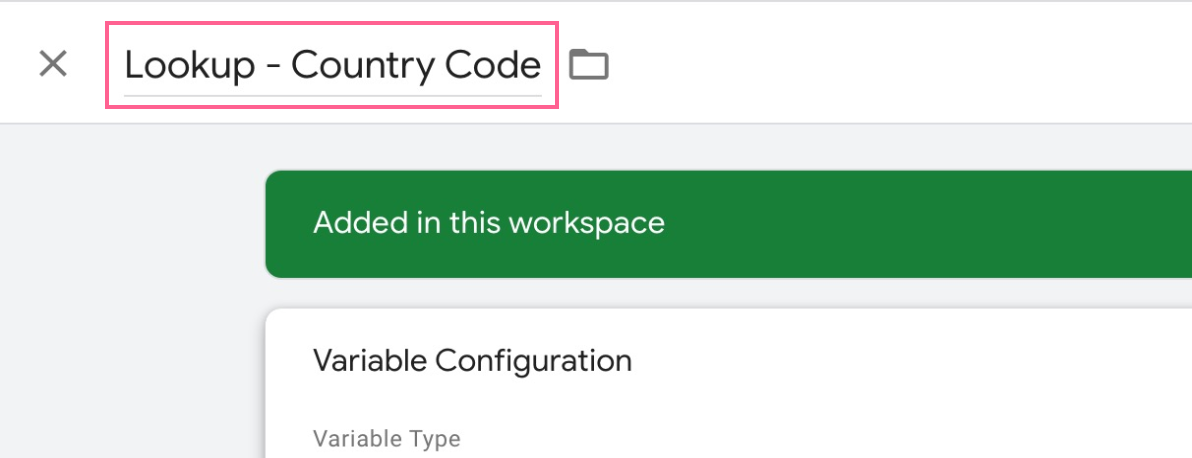
- Title the variable "Lookup - Country Code" or some variation
- Select Page Hostname for the Input Variable

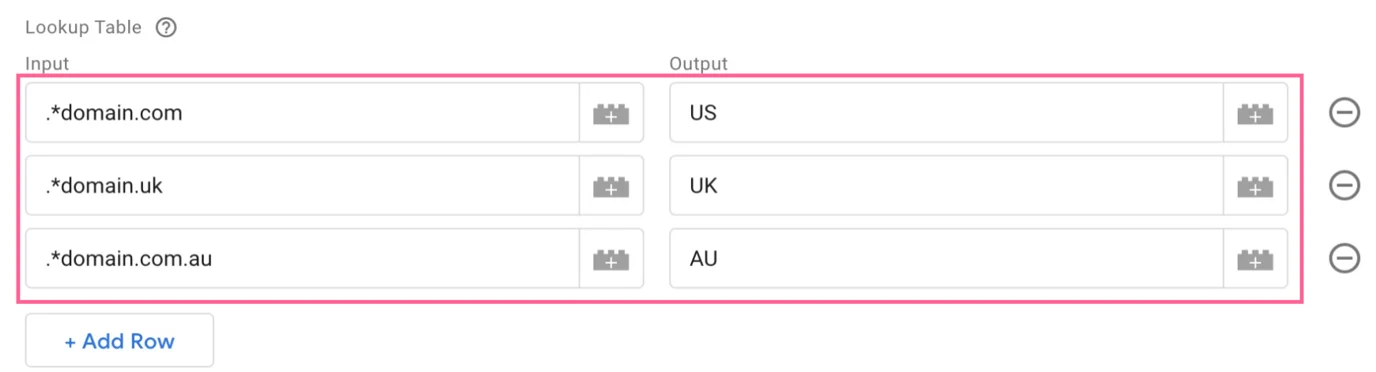
- Select Add Row for as many different website domains that you have/need.

- Add your website domains in the Input column and your Country Code in the Output column
- Save your newly created variable

Update the js - Google Ads - SKU Variables
- Still in your Variables settings, search for "js - Google Ads". This will show you 6 variables that were included in your Pre-Built Google Ads Remarketing Tags
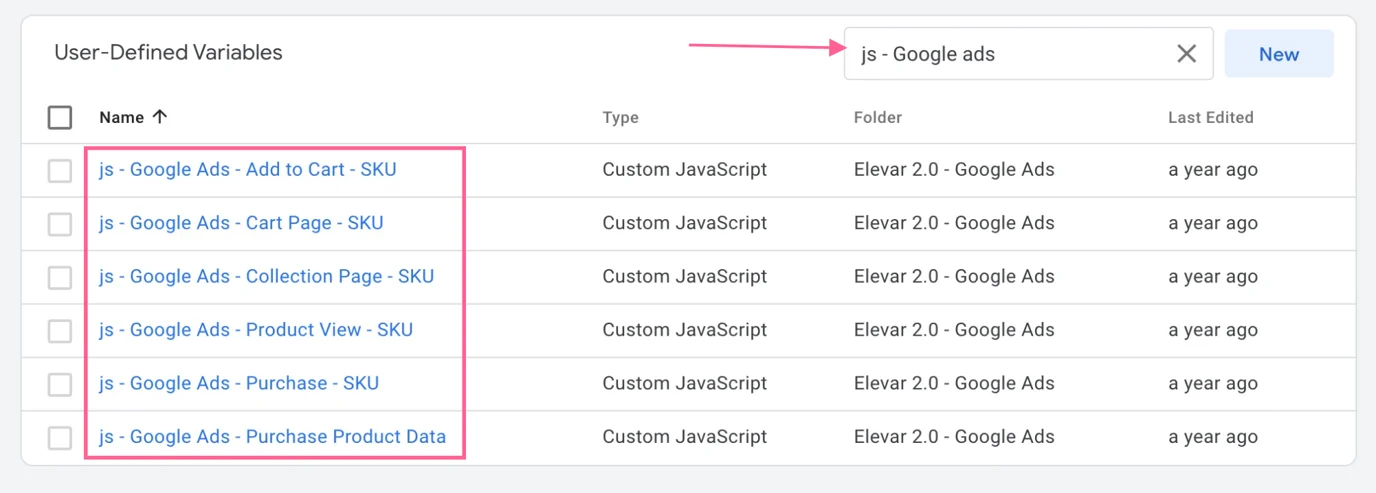
We'll be updating the first 5 only:
- js - Google Ads - Add to Cart - SKU
- js - Google Ads - Cart Page - SKU
- js - Google Ads - Collection Page - SKU
- js - Google Ads - Product View - SKU
- js - Google Ads - Purchase - SKU
- Click on the variable titled js - Google Ads - Add to Cart - SKU. Change line 6 from:
'id': product.id,To:
'id': "shopify_" + {{Lookup - Country Code}} + "_" + product.product_id + "_" + product.variant_id,Then press Save to save your changes

- Click on the variable titled js - Google Ads - Cart Page - SKU. Change line 6 from:
'id': impression.id,To:
'id': "shopify_" + {{Lookup - Country Code}} + "_" + impression.product_id + "_" + impression.variant_id,Then press Save to save your changes

- Click on the variable titled js - Google Ads - Collection Page - SKU. Change line 7 from:
'id': impression.id,To:
'id': "shopify_" + {{Lookup - Country Code}} + "_" + impression.product_id + "_" + impression.variant_id,Then press Save to save your changes

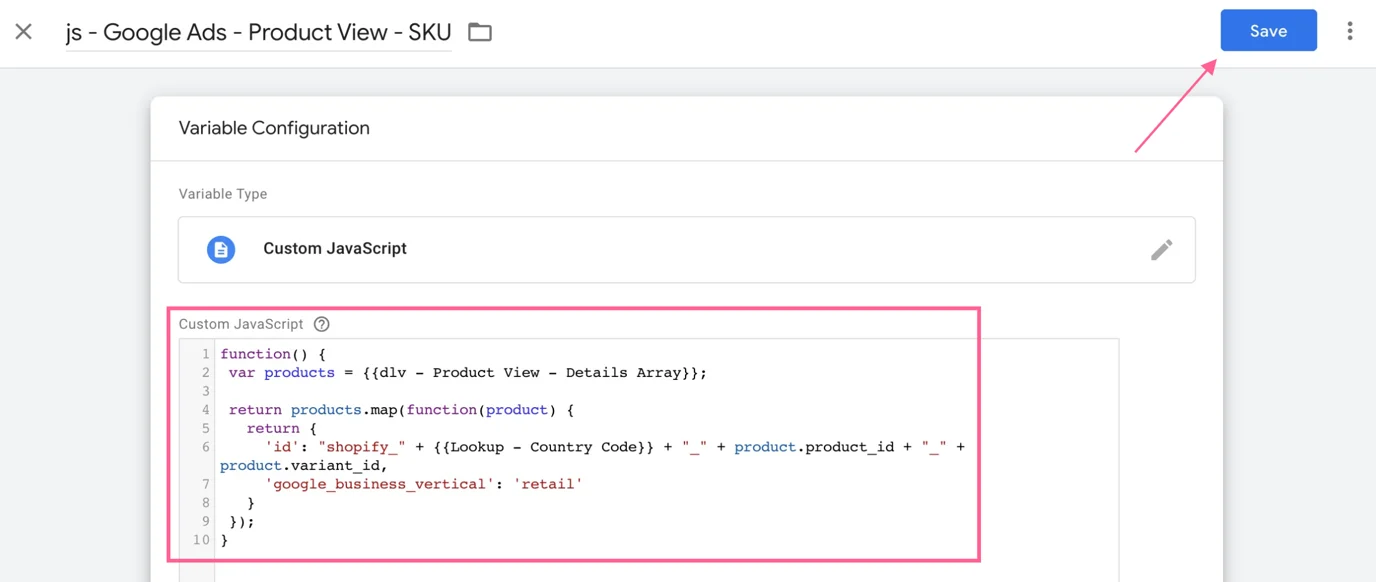
- Click on the variable titled js - Google Ads - Product View - SKU. Change line 6 from:
'id': product.id,To:
'id': "shopify_" + {{Lookup - Country Code}} + "_" + product.product_id + "_" + product.variant_id,Then press Save to save your changes
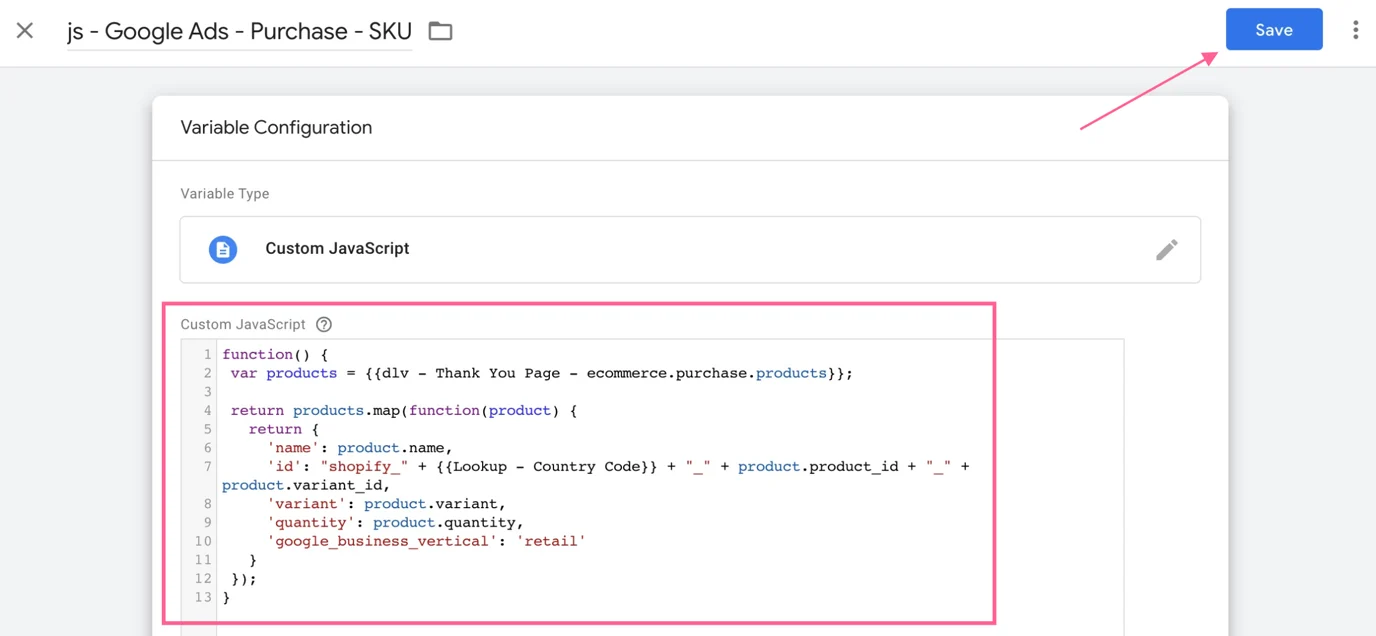
- Click on the variable titled js - Google Ads - Purchase - SKU. Change line 7 from:
'id': product.id,To:
'id': "shopify_" + {{Lookup - Country Code}} + "_" + product.product_id + "_" + product.variant_id,Then press Save to save your changes
Remove the ecomm_prodid
"ecomm_prodid" is an older version of the Product ID. "id" in the new Product ID gtag field that Google Ads offers.
You don't need to send both to Google Ads. In our Pre-Built Google Ads Remarketing tags, we've included sending both where it's easy just in case you have something setup based on ecomm_prodid.
But for our setup, we're going to keep our configuration lighter and only customize the new "id" field & remove the "ecomm_prodid".
- Navigate to your Tags section > Select the Google Ads Remarketing - Add to Cart tag.

- Under custom parameters, delete the row that says "ecomm_prodid". > Save your changes.

- Repeat 1 & 2 for the following tags:
- Google Ads Remarketing - Cart Page
- Google Ads Remarketing - View Item
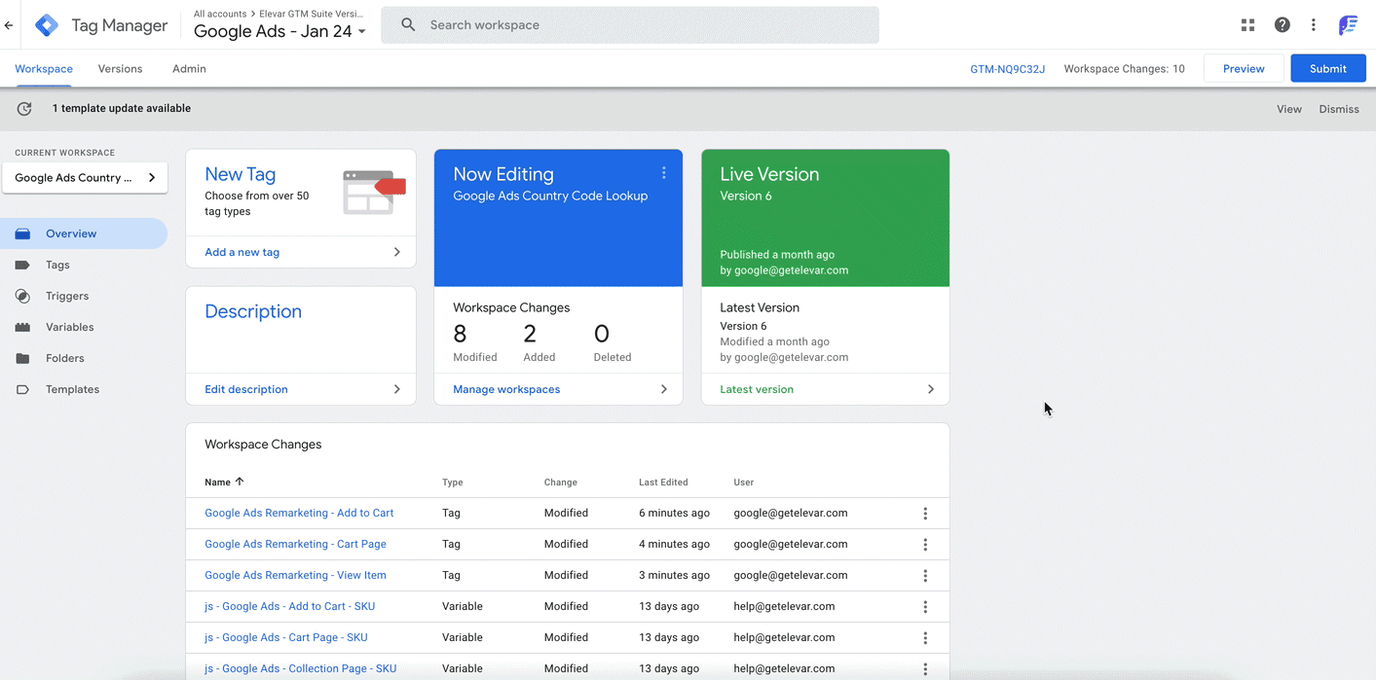
Publish
Once you're ready to push your changes live, select Submit > then Publish!
Thats it!
Updated 7 months ago