How To Calculate Increase in Add to Cart Events from Attentive Server Side Tracking
Learn how to measure the net new Add to Cart events generated from Attentive server-side tracking
Overview
Let's walk through how you can see the number of net new Add to Cart events that your Attentive server side tracking identifies.
We'll focus just on Add to Cart events in this guide, but you can apply the same logic for your Product View events & Purchase events.
Events Elevar Sends
Once you've followed this guide on setting up your Attentive Server Side Tracking in Test Mode as called out in Step 7, you'll be sending the following server side events to Attentive:
Add To Cart - Elevar SS- The equivalent Attentive event to compare against is
Added to cart
- The equivalent Attentive event to compare against is
Purchase - Elevar SS- The equivalent Attentive event to compare against is
Made a purchase
- The equivalent Attentive event to compare against is
Product View - Elevar SS- The equivalent Attentive event to compare against is
Viewed a product
- The equivalent Attentive event to compare against is
How to See the Net New Identified Add to Cart Events
To calculate the number of net new add to cart events identified by your server-side tracking, we'll add a label to shoppers that triggers the server side event, add a different label to those that trigger the Attentive client side event, and then use segments to see how many users have the server side label but not the client side label.
Step 1 - Label users who trigger a server side event
Create a new Journey in Attentive.
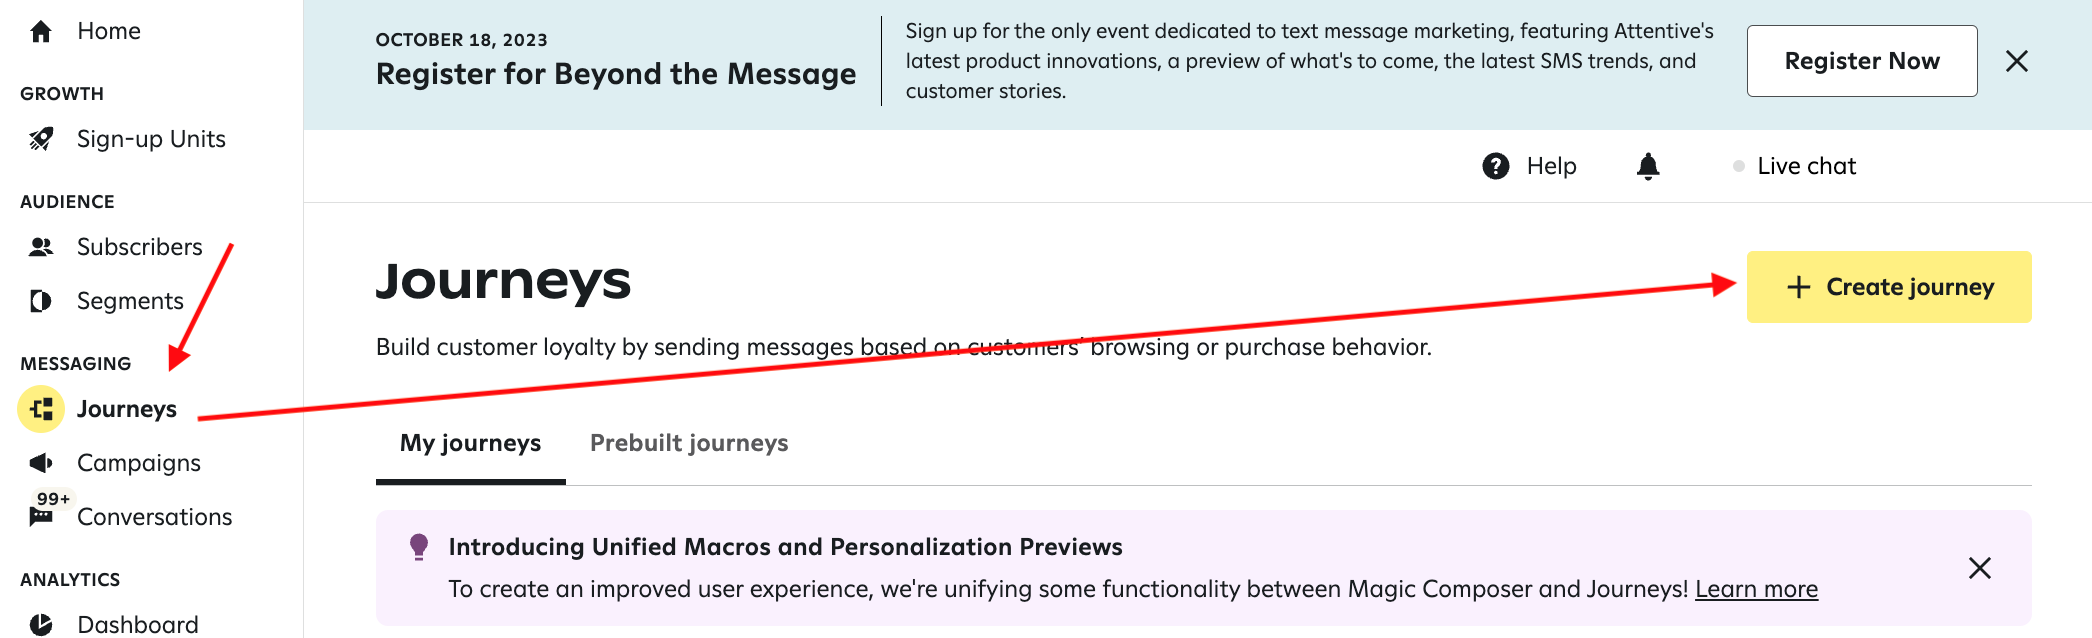
Select Start from scratch.
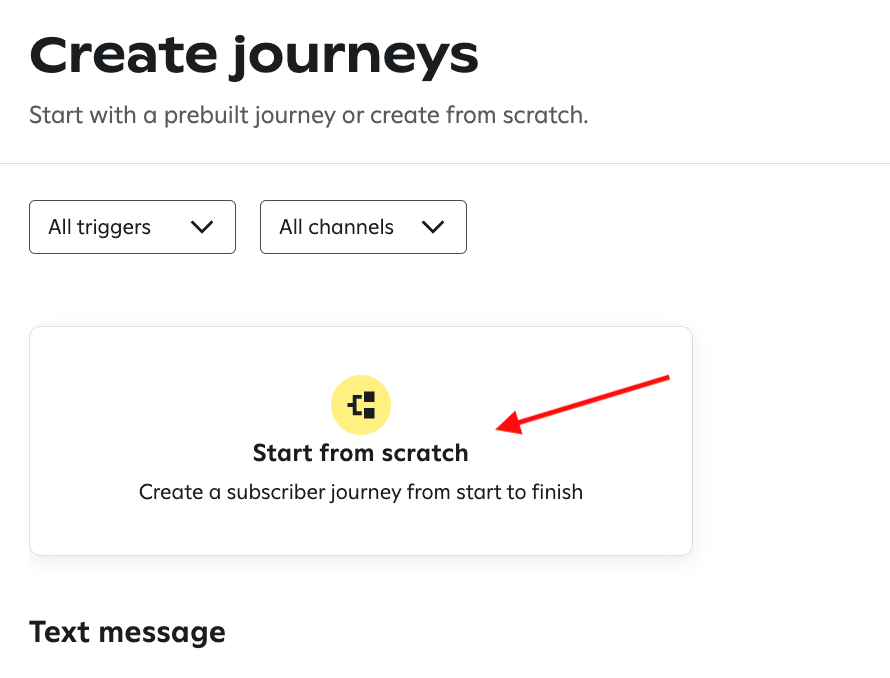
Choose the Add to Cart - Elevar SS event as your trigger.
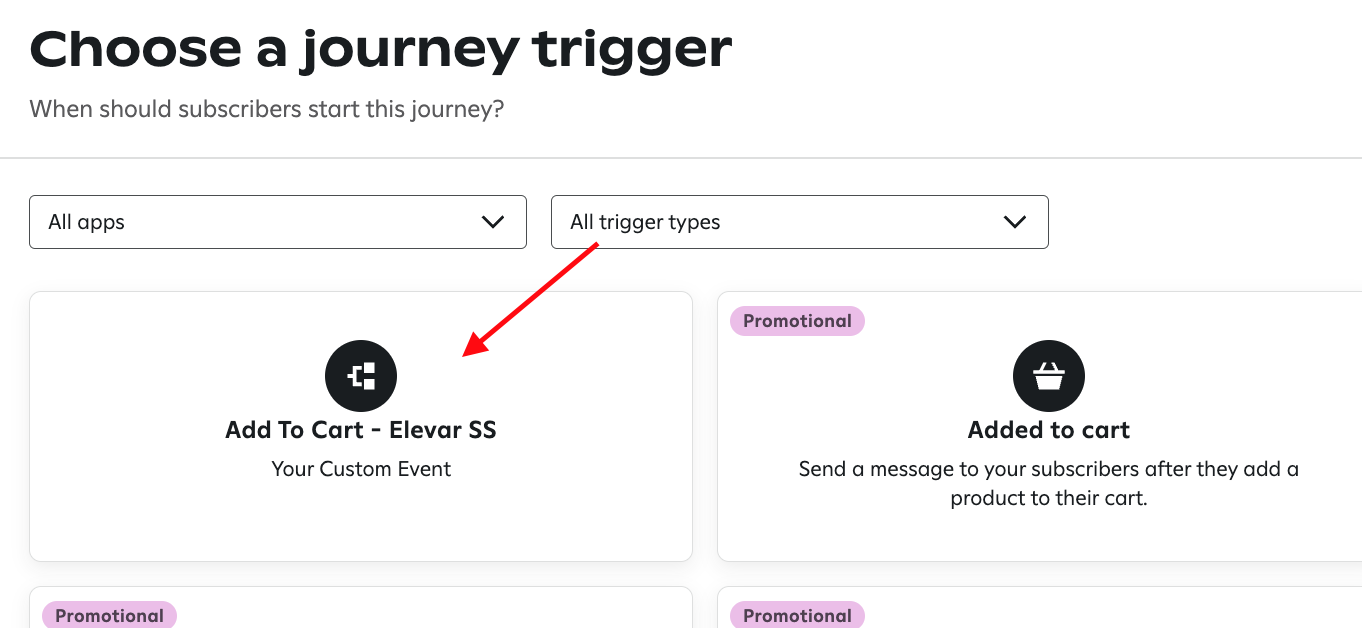
Select Send a message about something else.
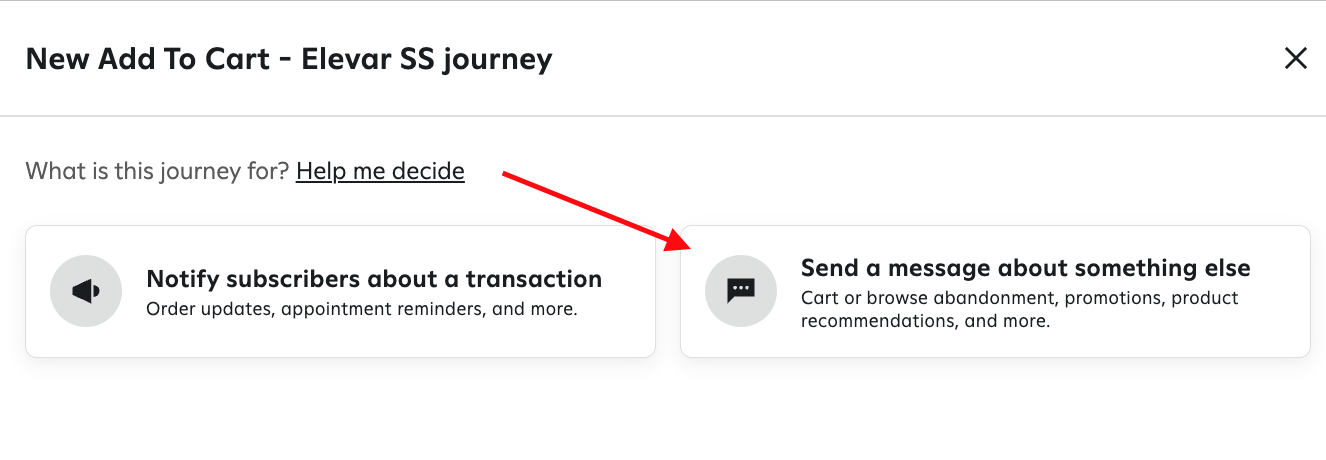
Mirror the below Journey setup. Choose to create a new Custom Attribute Category titled Elevar Add to Cart. Set the Value to be Seen.
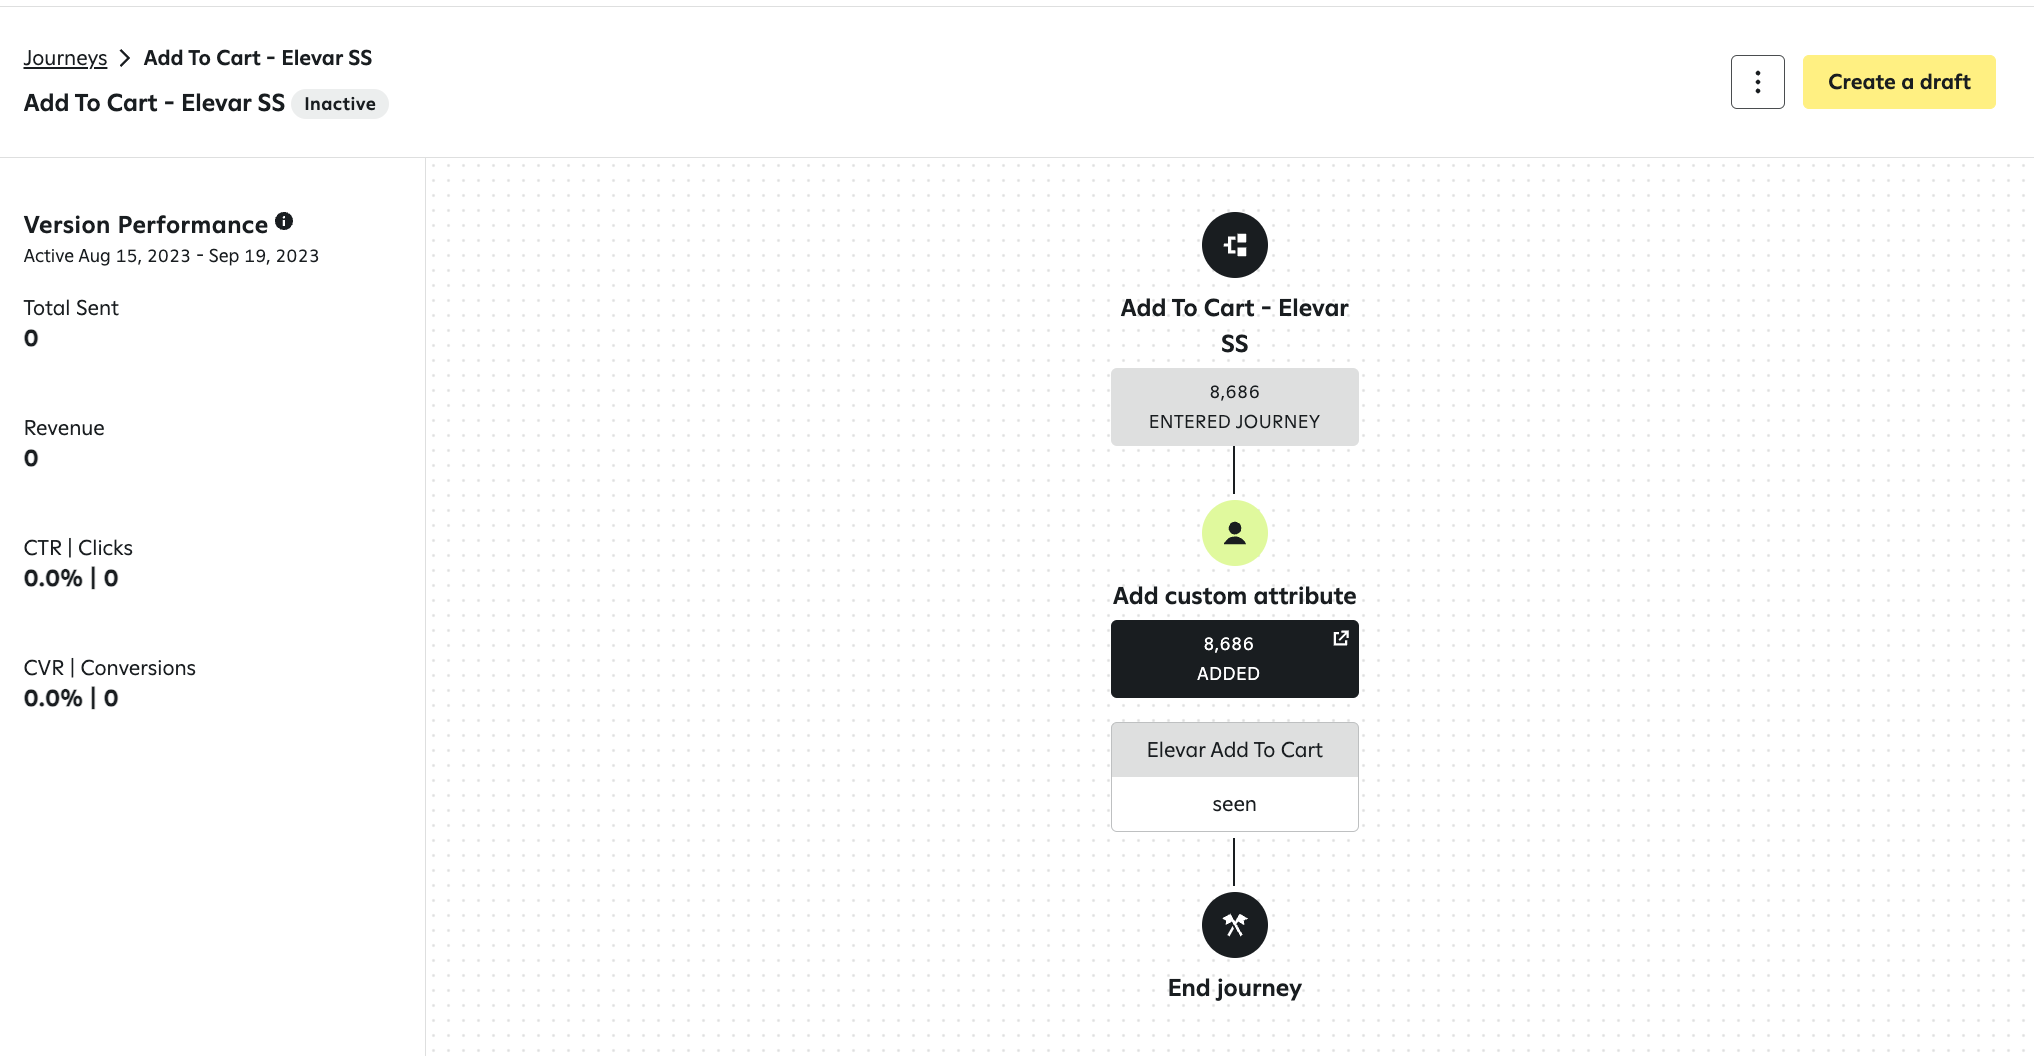
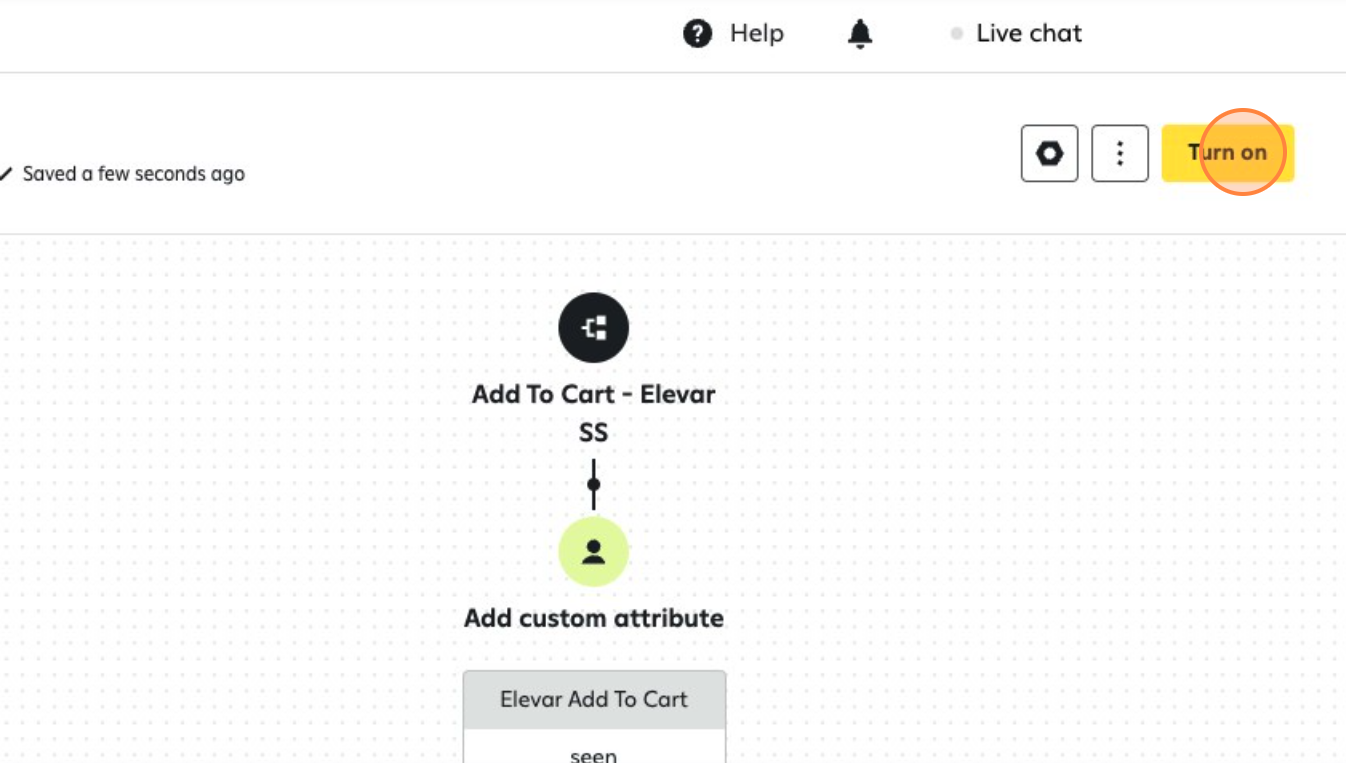
Turn on your Journey.
Step 2 - Label users who trigger an Attentive event
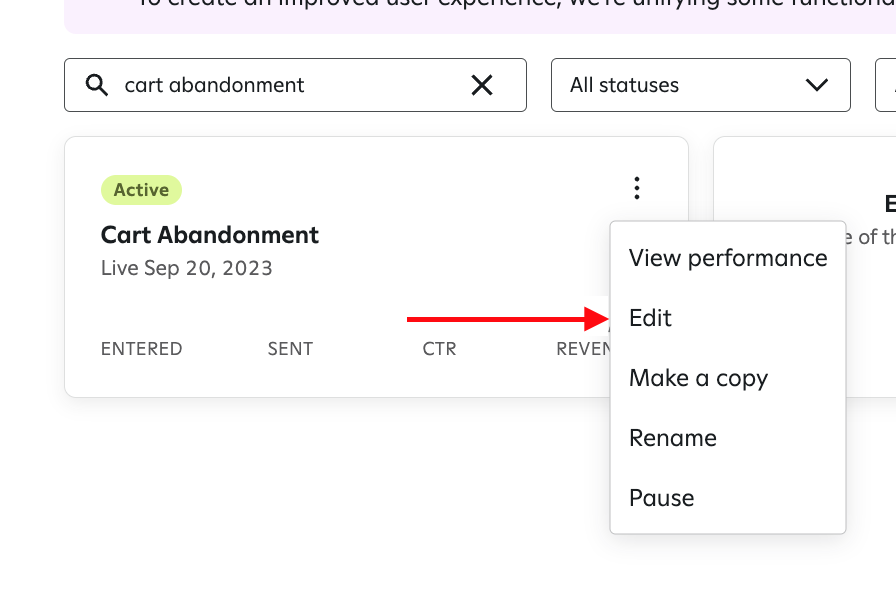
Edit your existing cart abandonment Journey
Add a Custom Attribute Step in the start of the Journey. Create a new Attribute Category titled Attentive Add to Cart. Set the Value to be Seen.
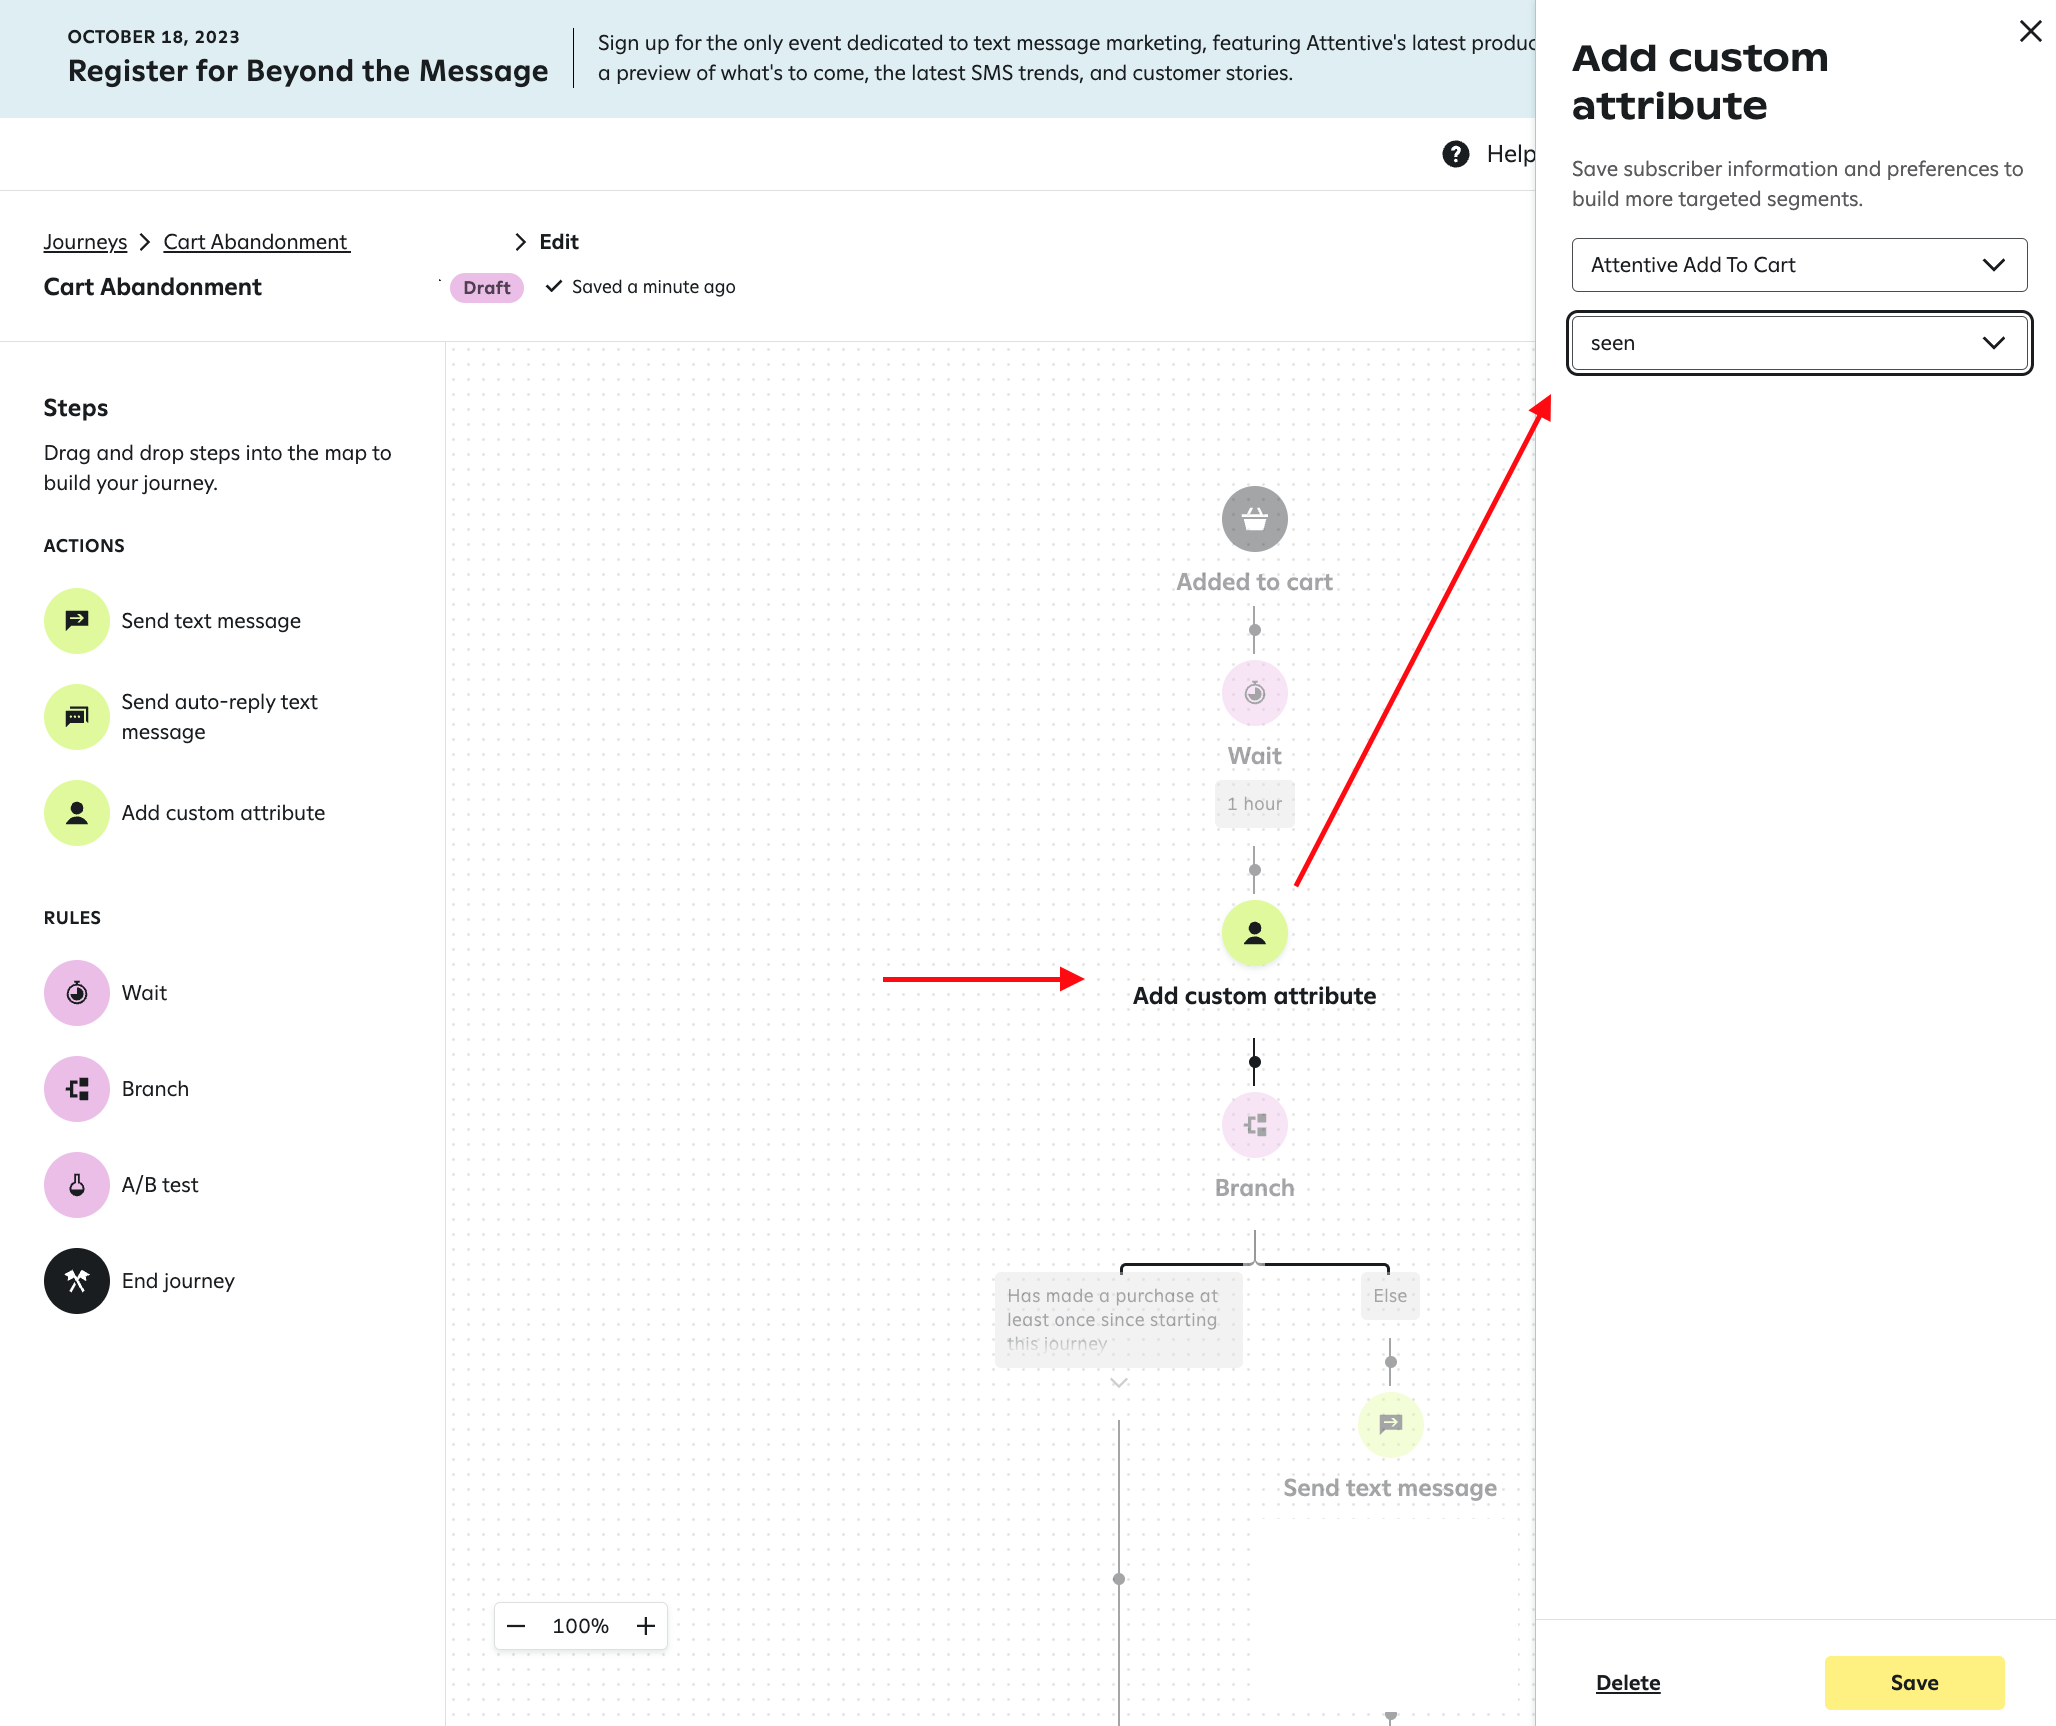
Publish your changes by selecting "Turn On".
Does your Attentive UI not look like the above?
Attentive may have updated their app! In that case, follow Attentive's guide on Editing Journeys.
Step 3 - Create your segments
You'll want to create 3 new Dynamic Segments in Attentive.

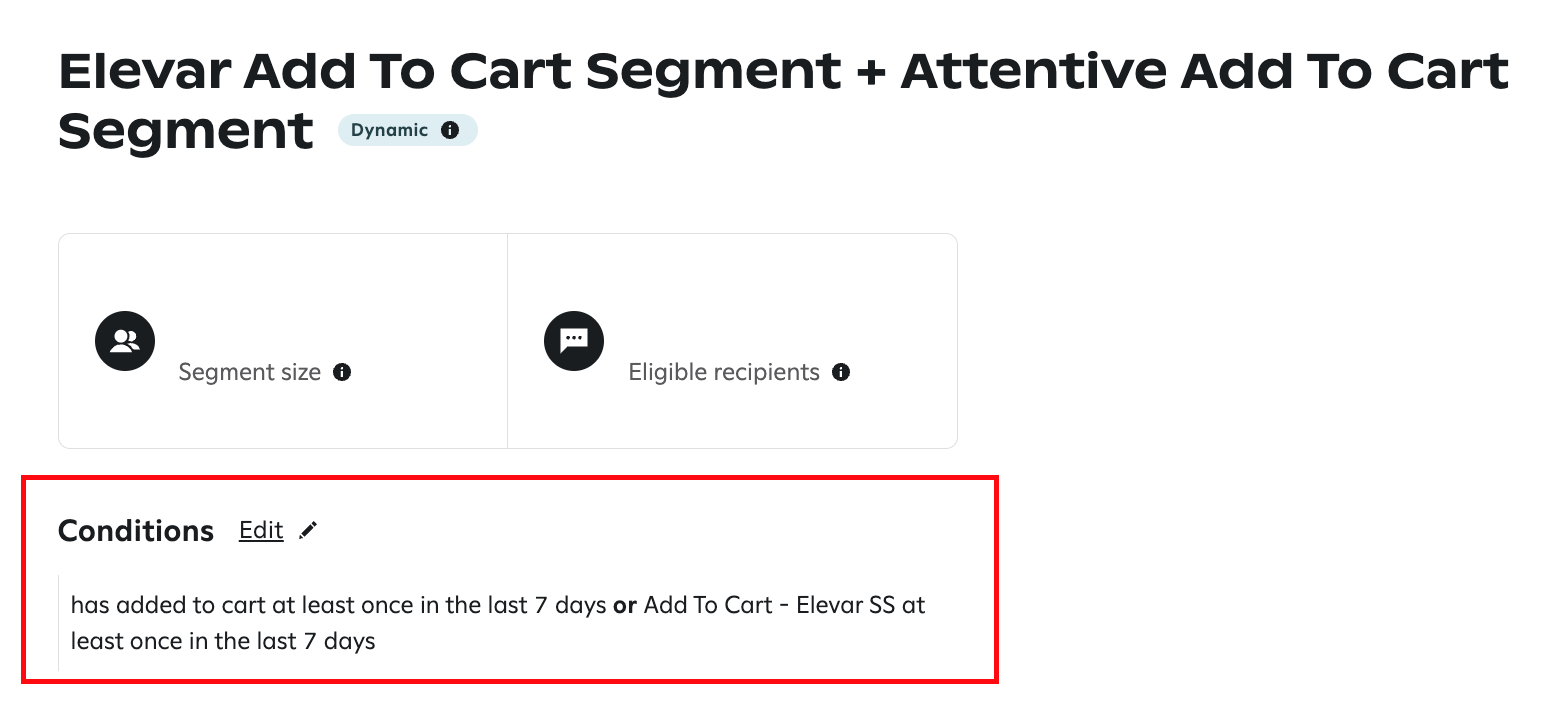
The first segment will show you the total Add to Cart events from both your server side and standard Attentive client side tracking:
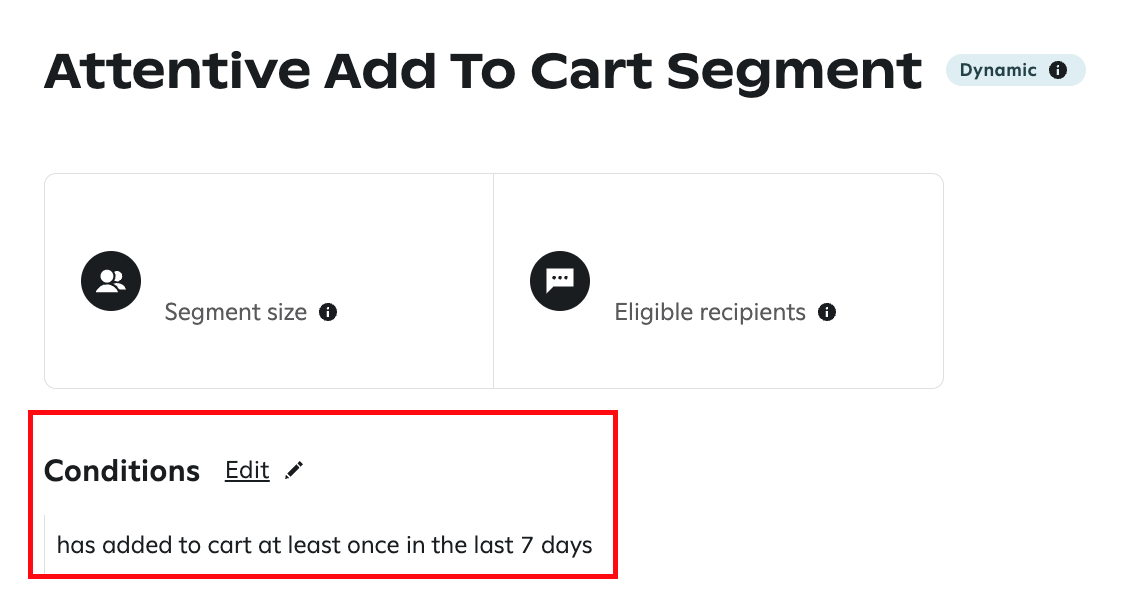
Your next segment will only show the Add to Cart events captured by your Attentive client side tracking:
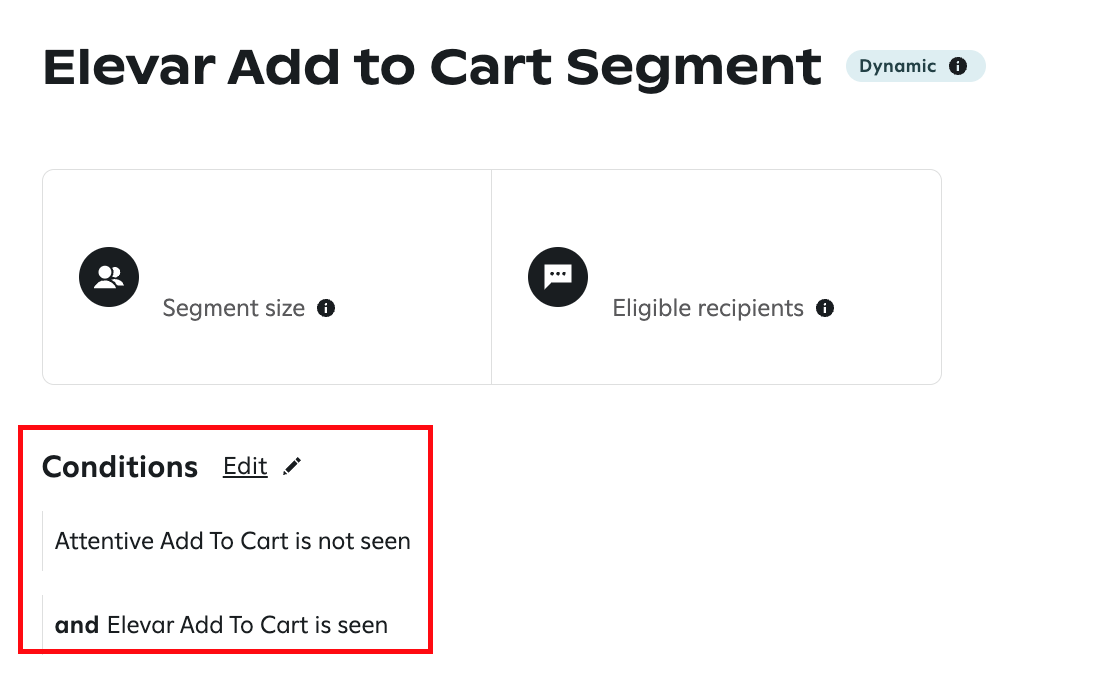
And your third segment will show only the Add to Cart events identified by the Elevar server side tracking:
Step 4 - Analyze Segment Size Comparison
Let the segments collect data for at least 2 weeks.
Then when comparing the segment data, you can see the percent increase in Add to Cart events identified by Elevar:
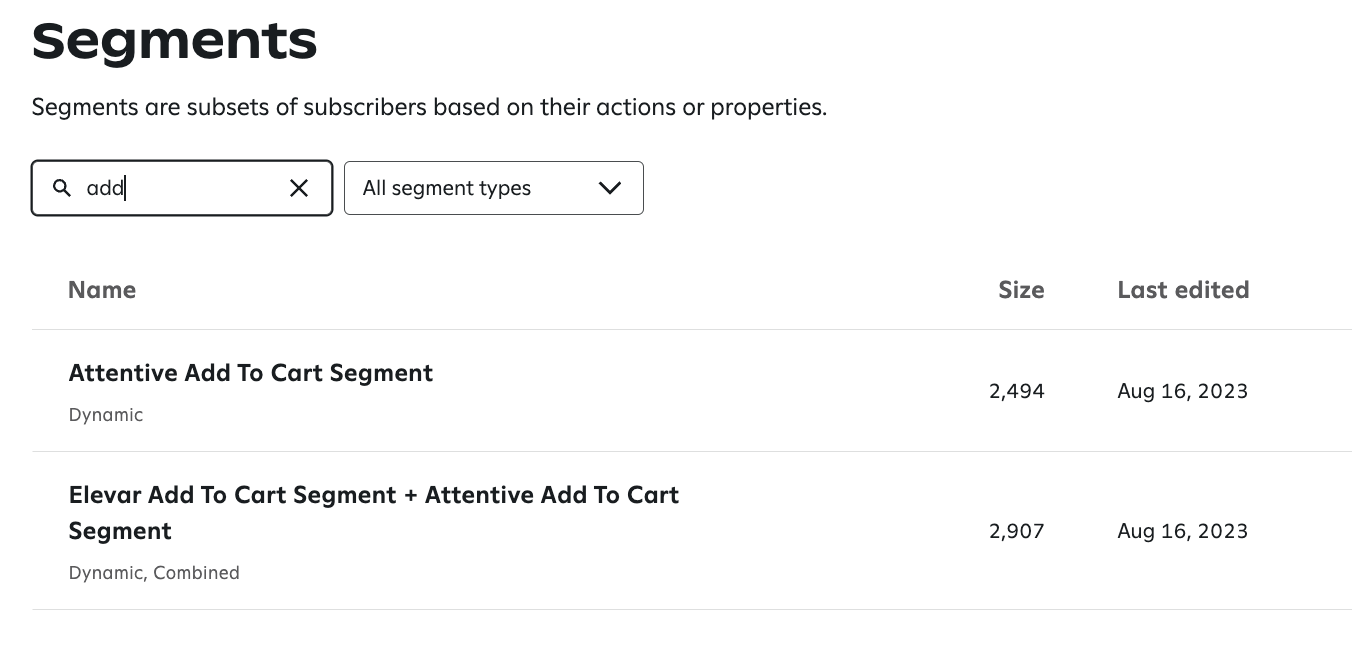
In the example above, server side captured an addition 413 events, which is a 16% increase!
UP NEXT: Getting ROI & Revenue Numbers
A segment comparison does not provide ROI beyond what can be estimated by the difference in size of the segments. In order to calculate the additional revenue enabled by using Elevar follow this guide on creating a cart abandonment Journey that just sends messages to the net new identified cart abandoners.
Updated 5 months ago